
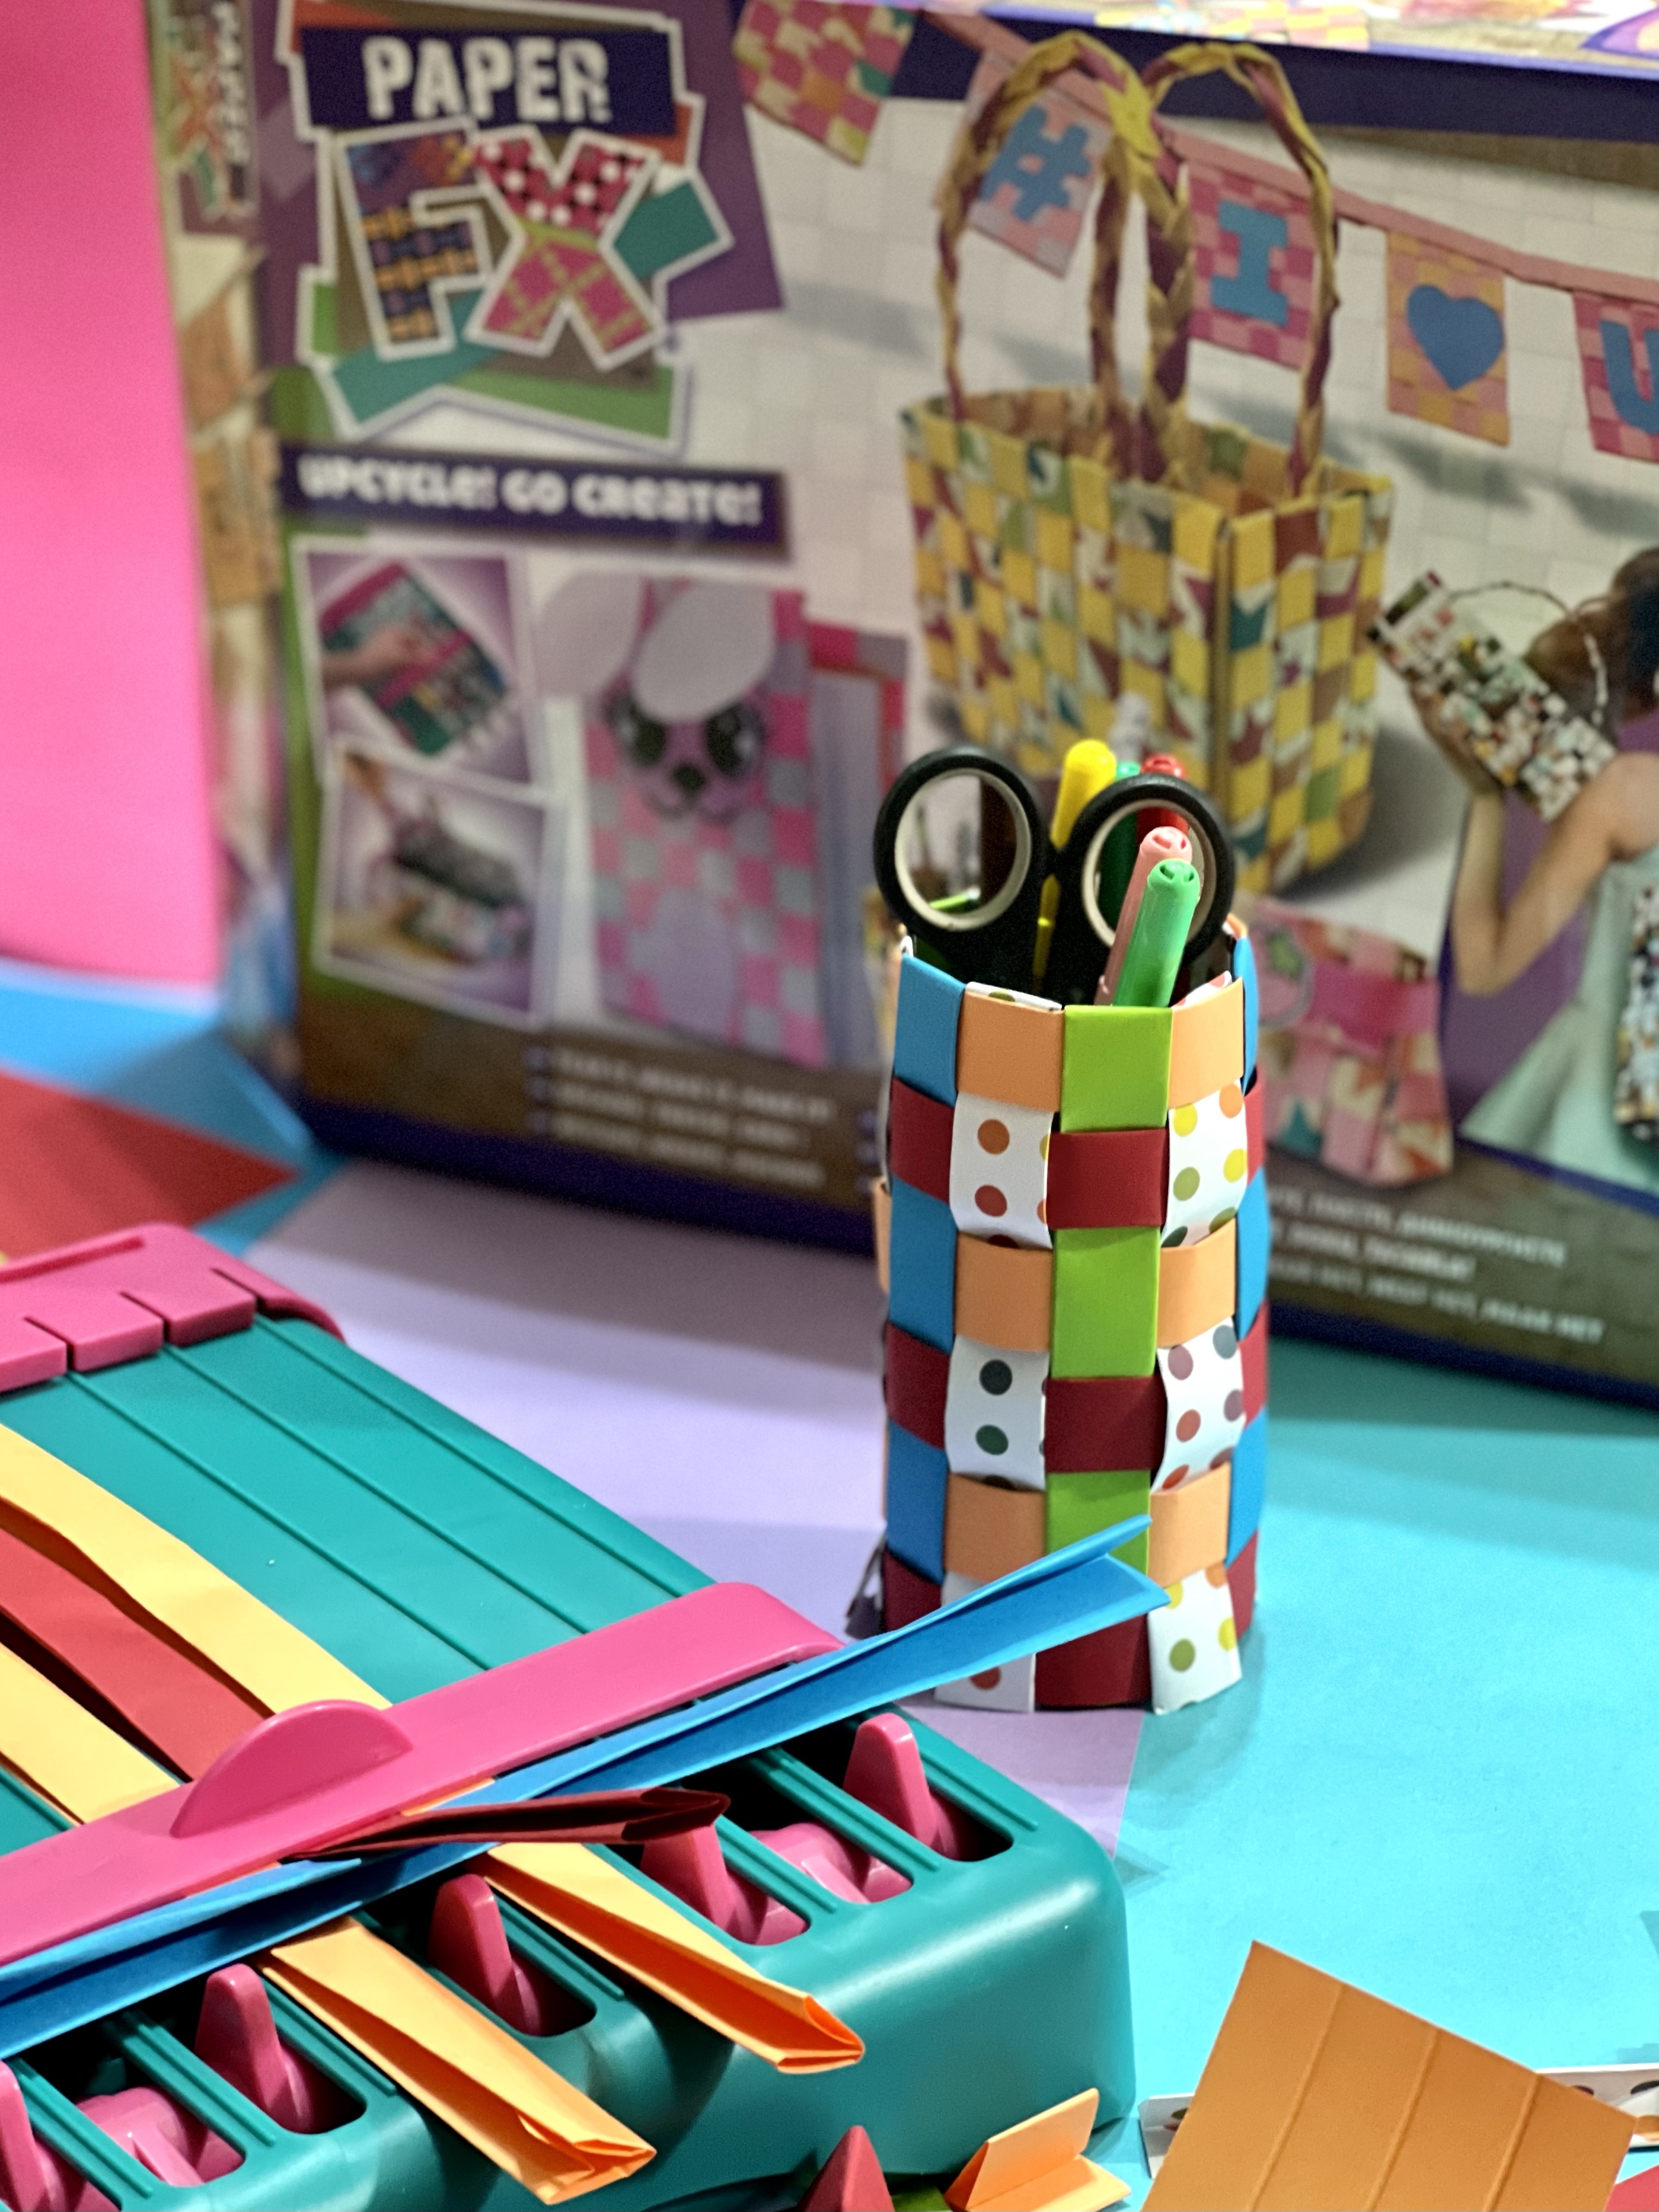
As you may know I am a huge fan of upcycling and can often be found skip diving in order to turn one man’s rubbish in to my treasures. I’m also a collector/hoarder of all sorts of arts and crafts supplies including paper. Now finally we have some awesome projects on the go because of paper FX. This snazzy little system helps you to weave scraps of paper and transform them in to something entirely new.
What’s inside the box?
The weaving machine itself, alongside a paper creasing device and a snazzy paper tearer. Plus a winder, twiddle sticks and the all important project book.
So…. How does it work?

First things first you place paper down and tear it in to strips. The project book gives you details on exactly what you need for each project and there’s two width options. We played around with this and found it works best on a flat surface and you can tear through 3/4 pieces of A4 paper at once if you hold it down firmly.
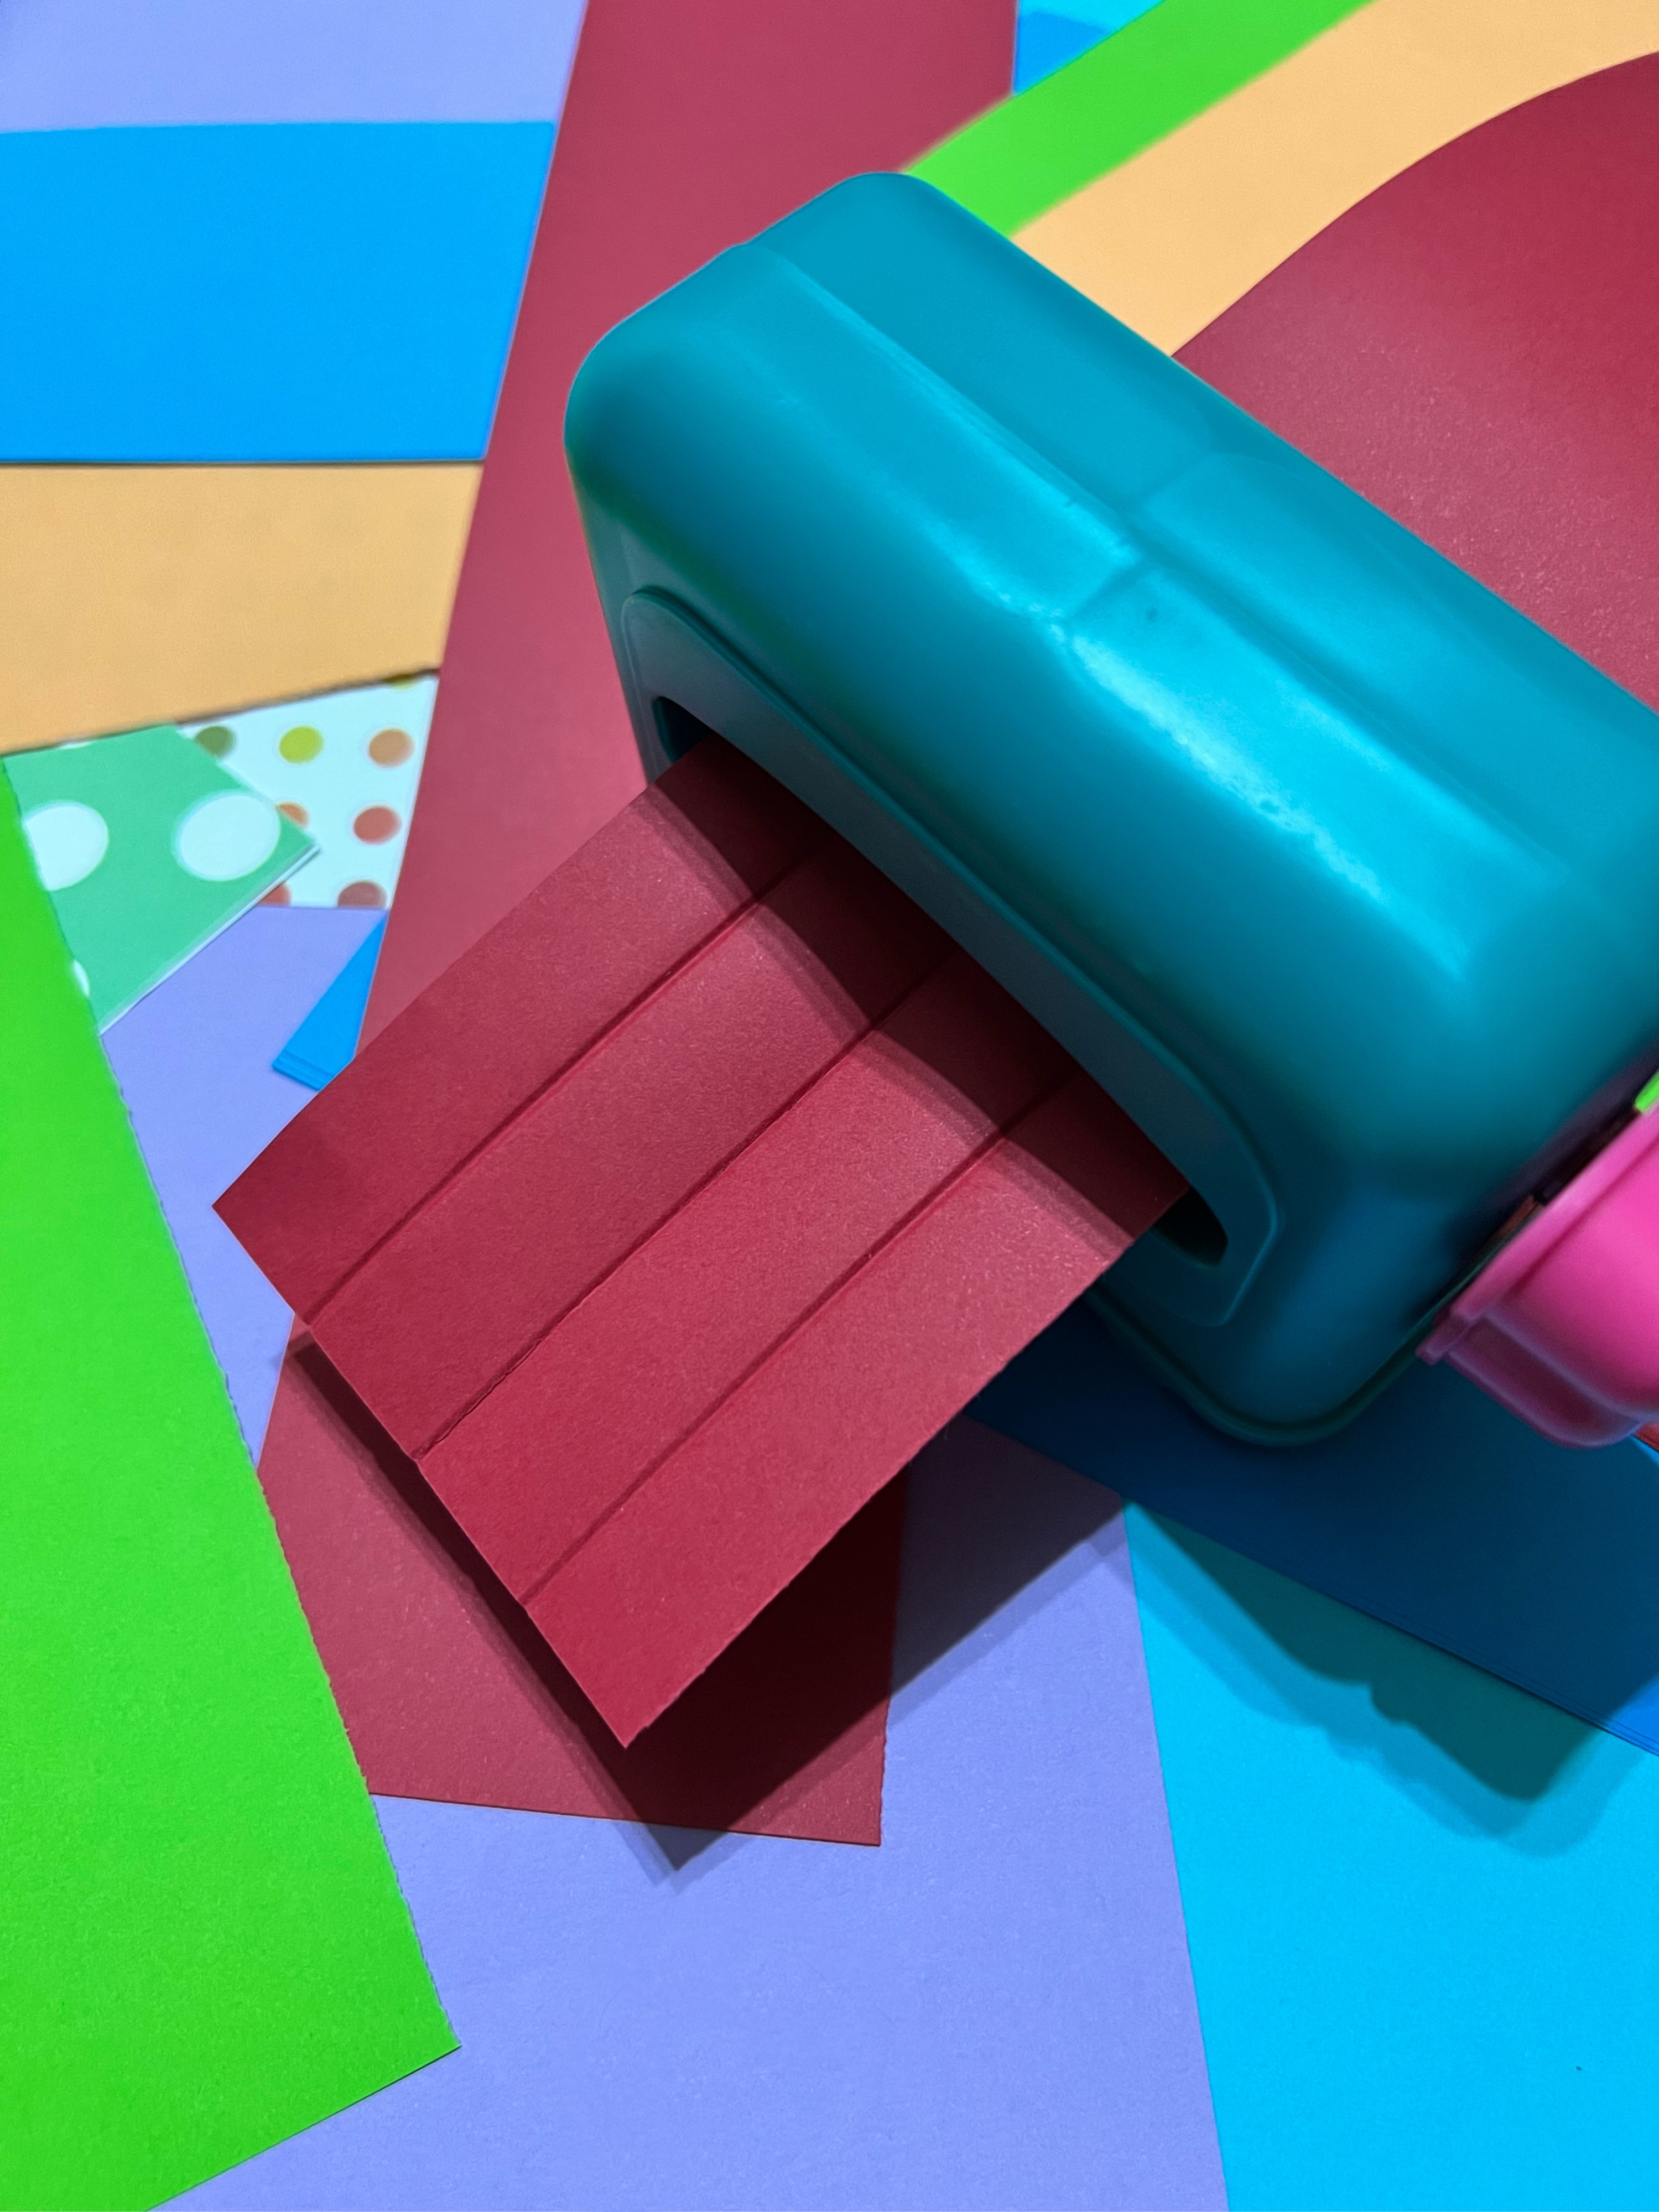
This next little gadget feeds in your paper strips and creases it in exactly the right places, and again you can pop 3/4 strips through at the same time. One top tip – if you’re using paper with a pattern on one side then run a test for direction as the creases tend to be easier to fold one way. This is really easy for kids hands to operate, the roller motion is operated with a simple wheel. At this stage it’s worth double checking the instructions and making sure you have enough strips and are paying attention to exactly how they’re glued….. some strips are folded and secured with glue and others you need to leave open to help in the building process. We ended up having to go back and make more strips because we rushed ahead!

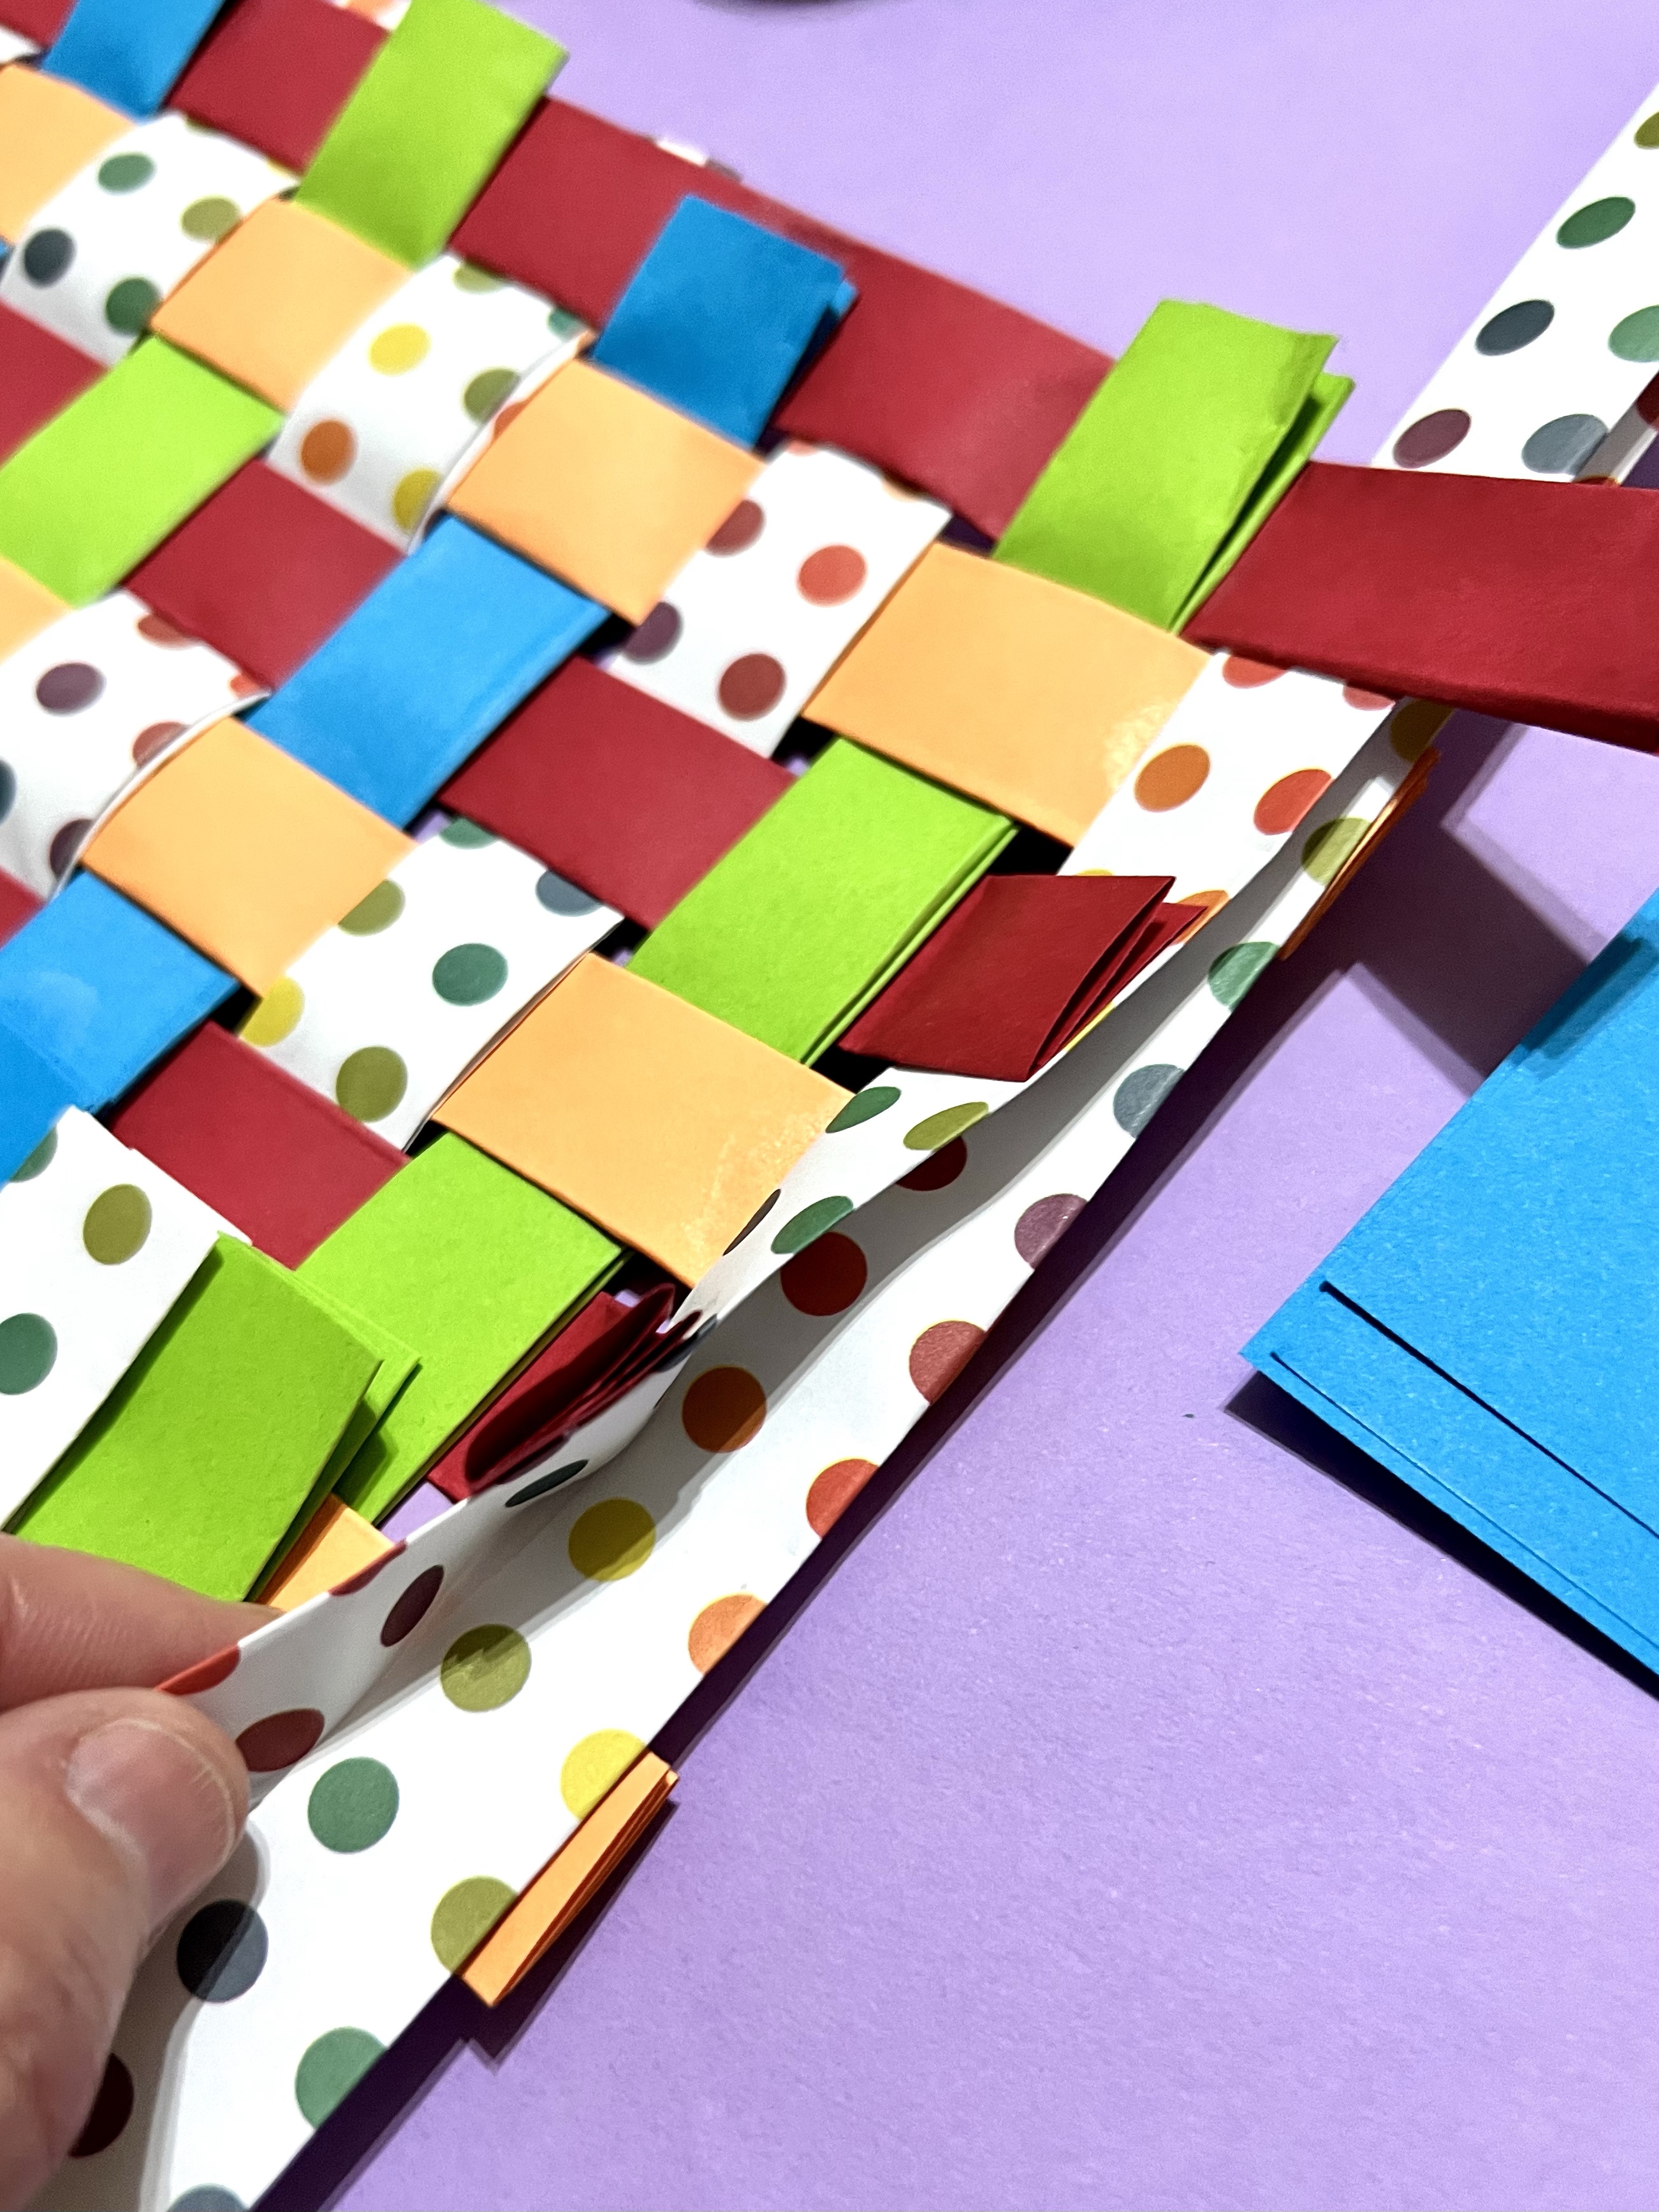
This is where the magic happens. Once you have all your strips ready you can begin weaving. It took us a little while to get the hand of it and so we did a practice run without any glue at first, but once we got the hand of it we had several different sheets on the go. The way it works is quite simple – the weaver holds the vertical strips in place at one end and then at the other there’s a wheel and a cog which lifts alternate strips up allowing you to place your horizontal strips in to the gaps making the perfect weave pattern.
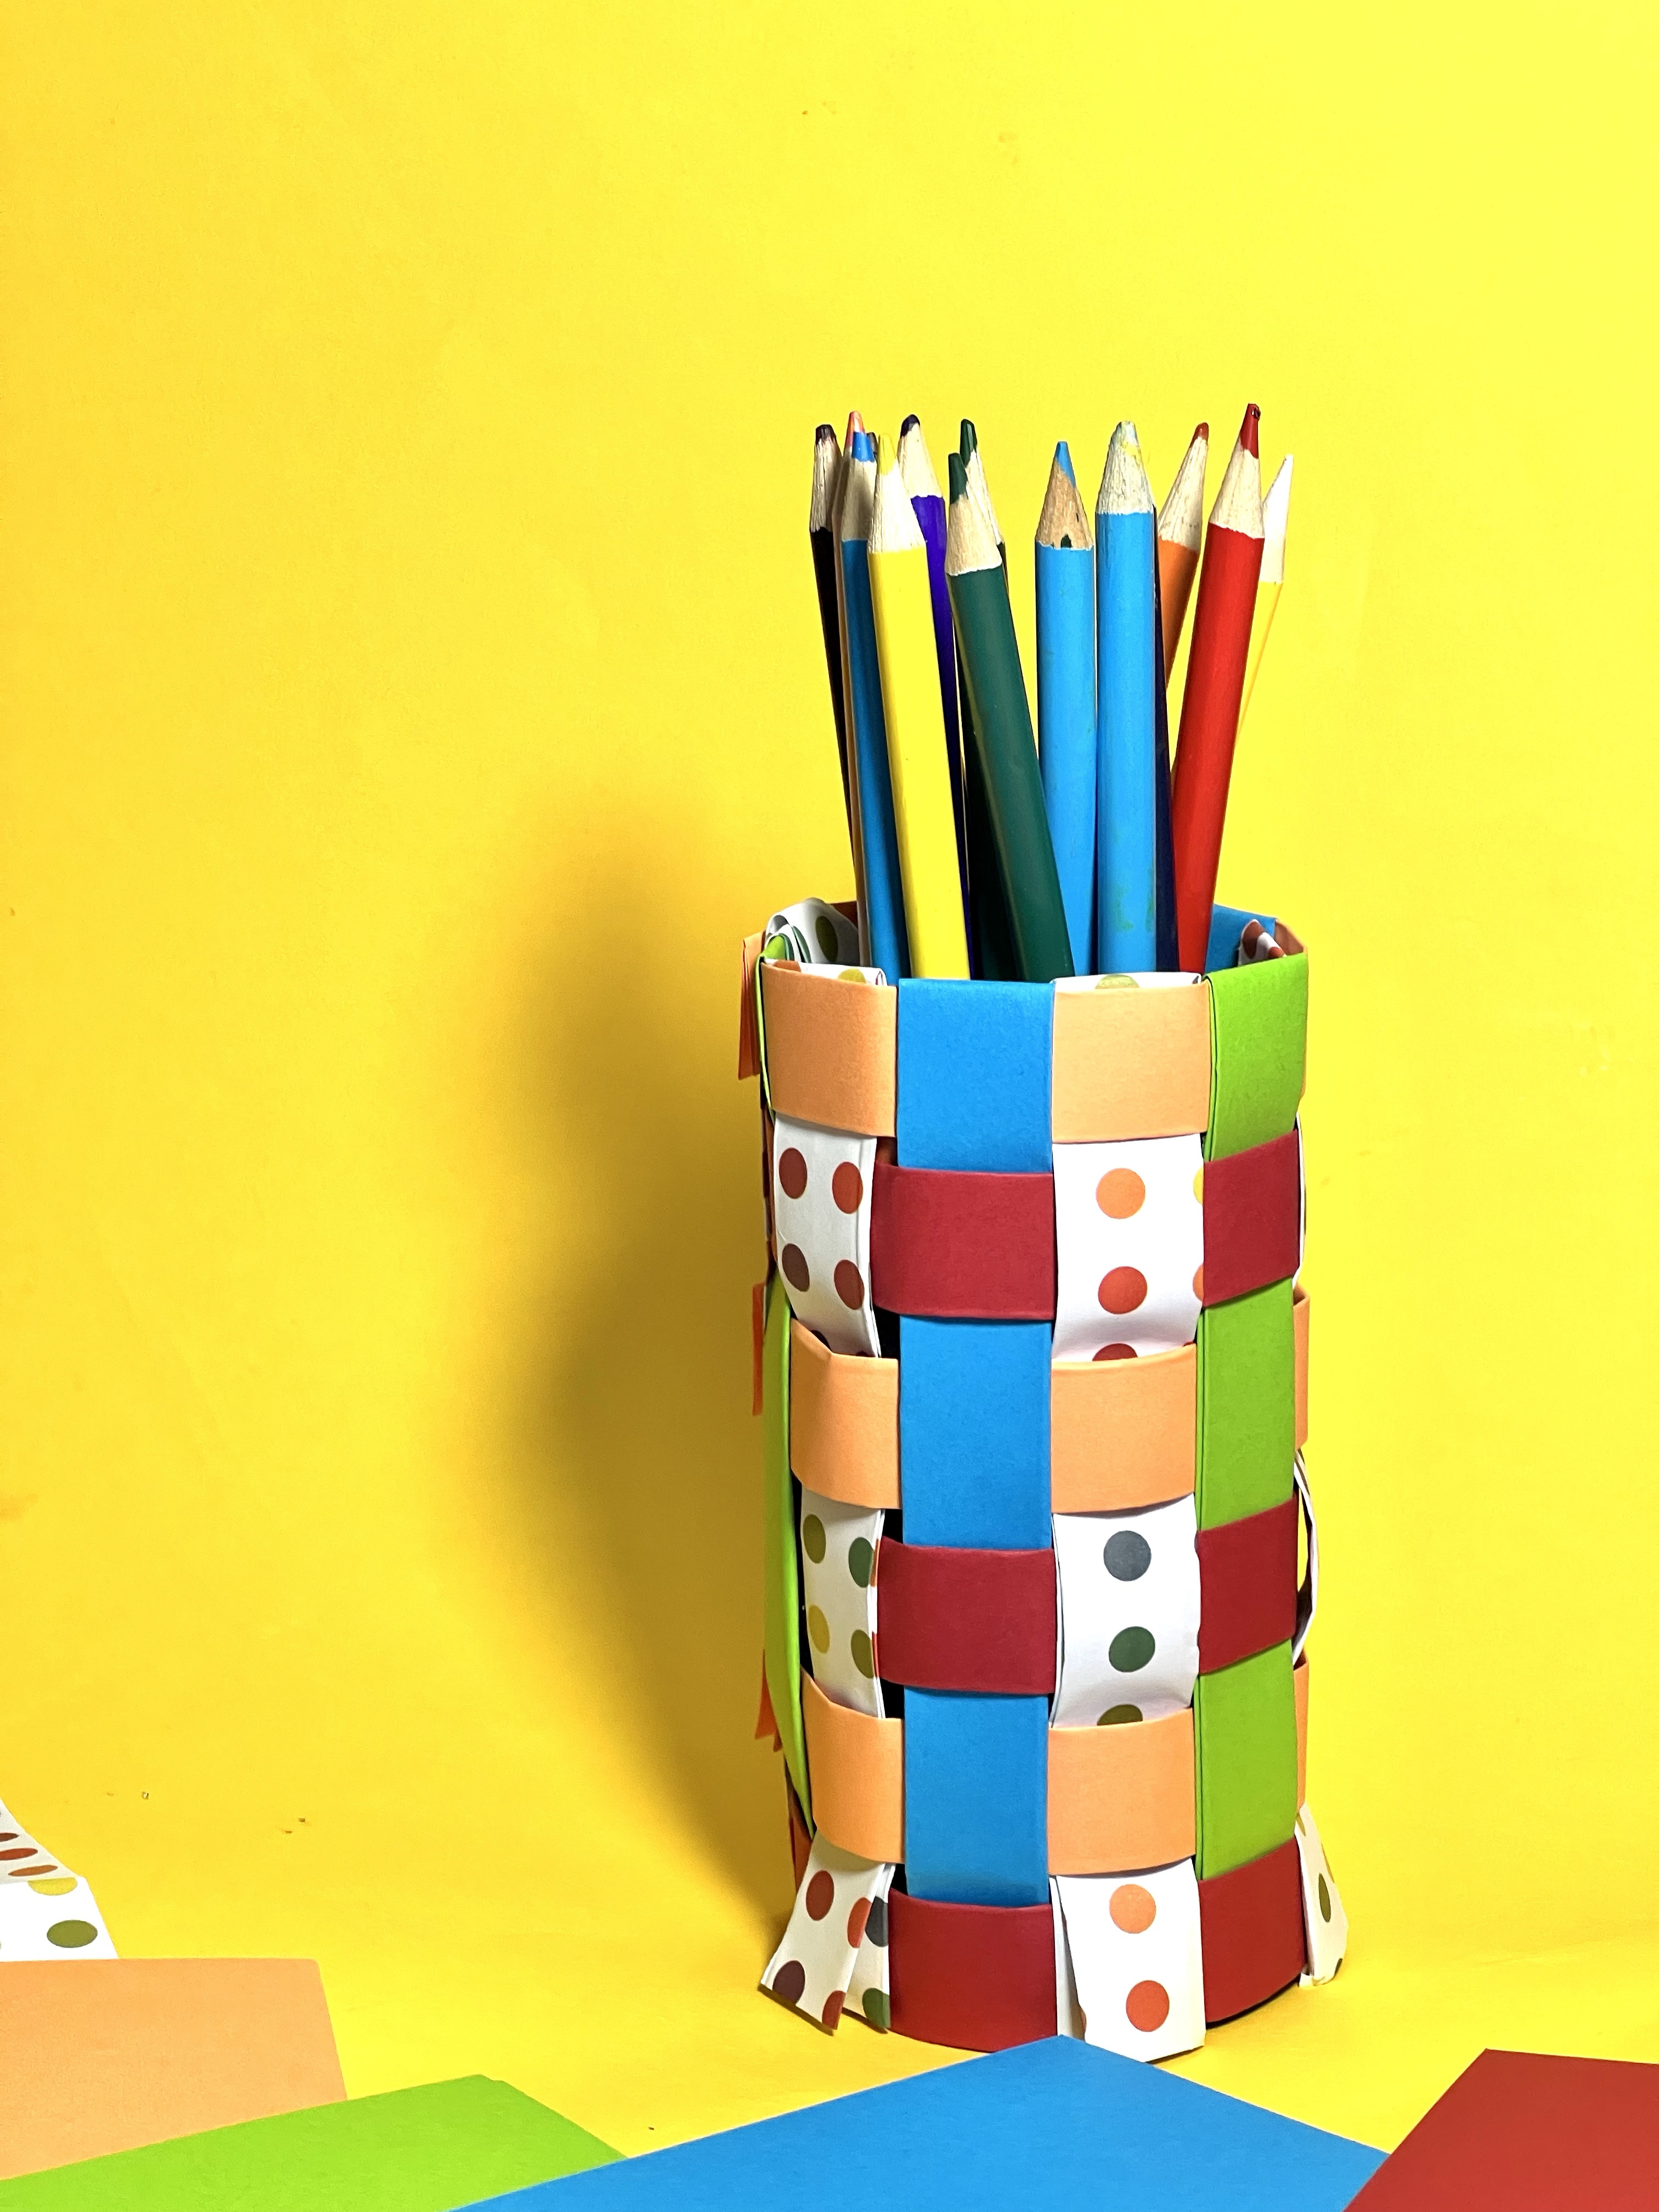
The first thing we chose to make was a little pencil pot, which seemed like the Simplest project. I wasn’t quite sure at first about open ended strips and what they would do, but as soon as our first sheet was completed with all of our strips of paper glued down and completely dry I realised that the open end of the paper at one end would make the perfect insert for the other end of the project, allowing us to secure the pieces with a hidden seam of sorts. This attention to detail for the finishing touches of the projects is wonderful.

As soon as our first project was complete we decided to get to work constructing sheets for something a little more challenging. The project book gives some great tips, such as covering the entire weave in PVA glue to secure it and give it a nice finish and so that’s what we have done, and it’s also been quite relaxing preparing the strips – we now have a huge box of paper strips ready for another rainy day project which would have otherwise gone to waste.
The Paper FX dream weaver is available now from retailers Argos and Amazon and is £19.99.
The product was provided for the purposes of review however as always all views and opinions expressed are our own
Last Updated on 3 weeks by Lavania Oluban