
Last Updated on Tuesday, June 24, 2025 by Lavania Oluban
This is such a simple idea but it’s just stunning. I know it’s not even half way through November but this project is stylish enough to not scream “Santa I know him” – here’s how to make a twig Christmas tree.
The best thing about this is that you’re going to have to head out to the woods to get what you need….. and here’s a hint…. grab some pinecones whilst you’re there for my next easy Christmas craft for you to try along with us.
You will need:
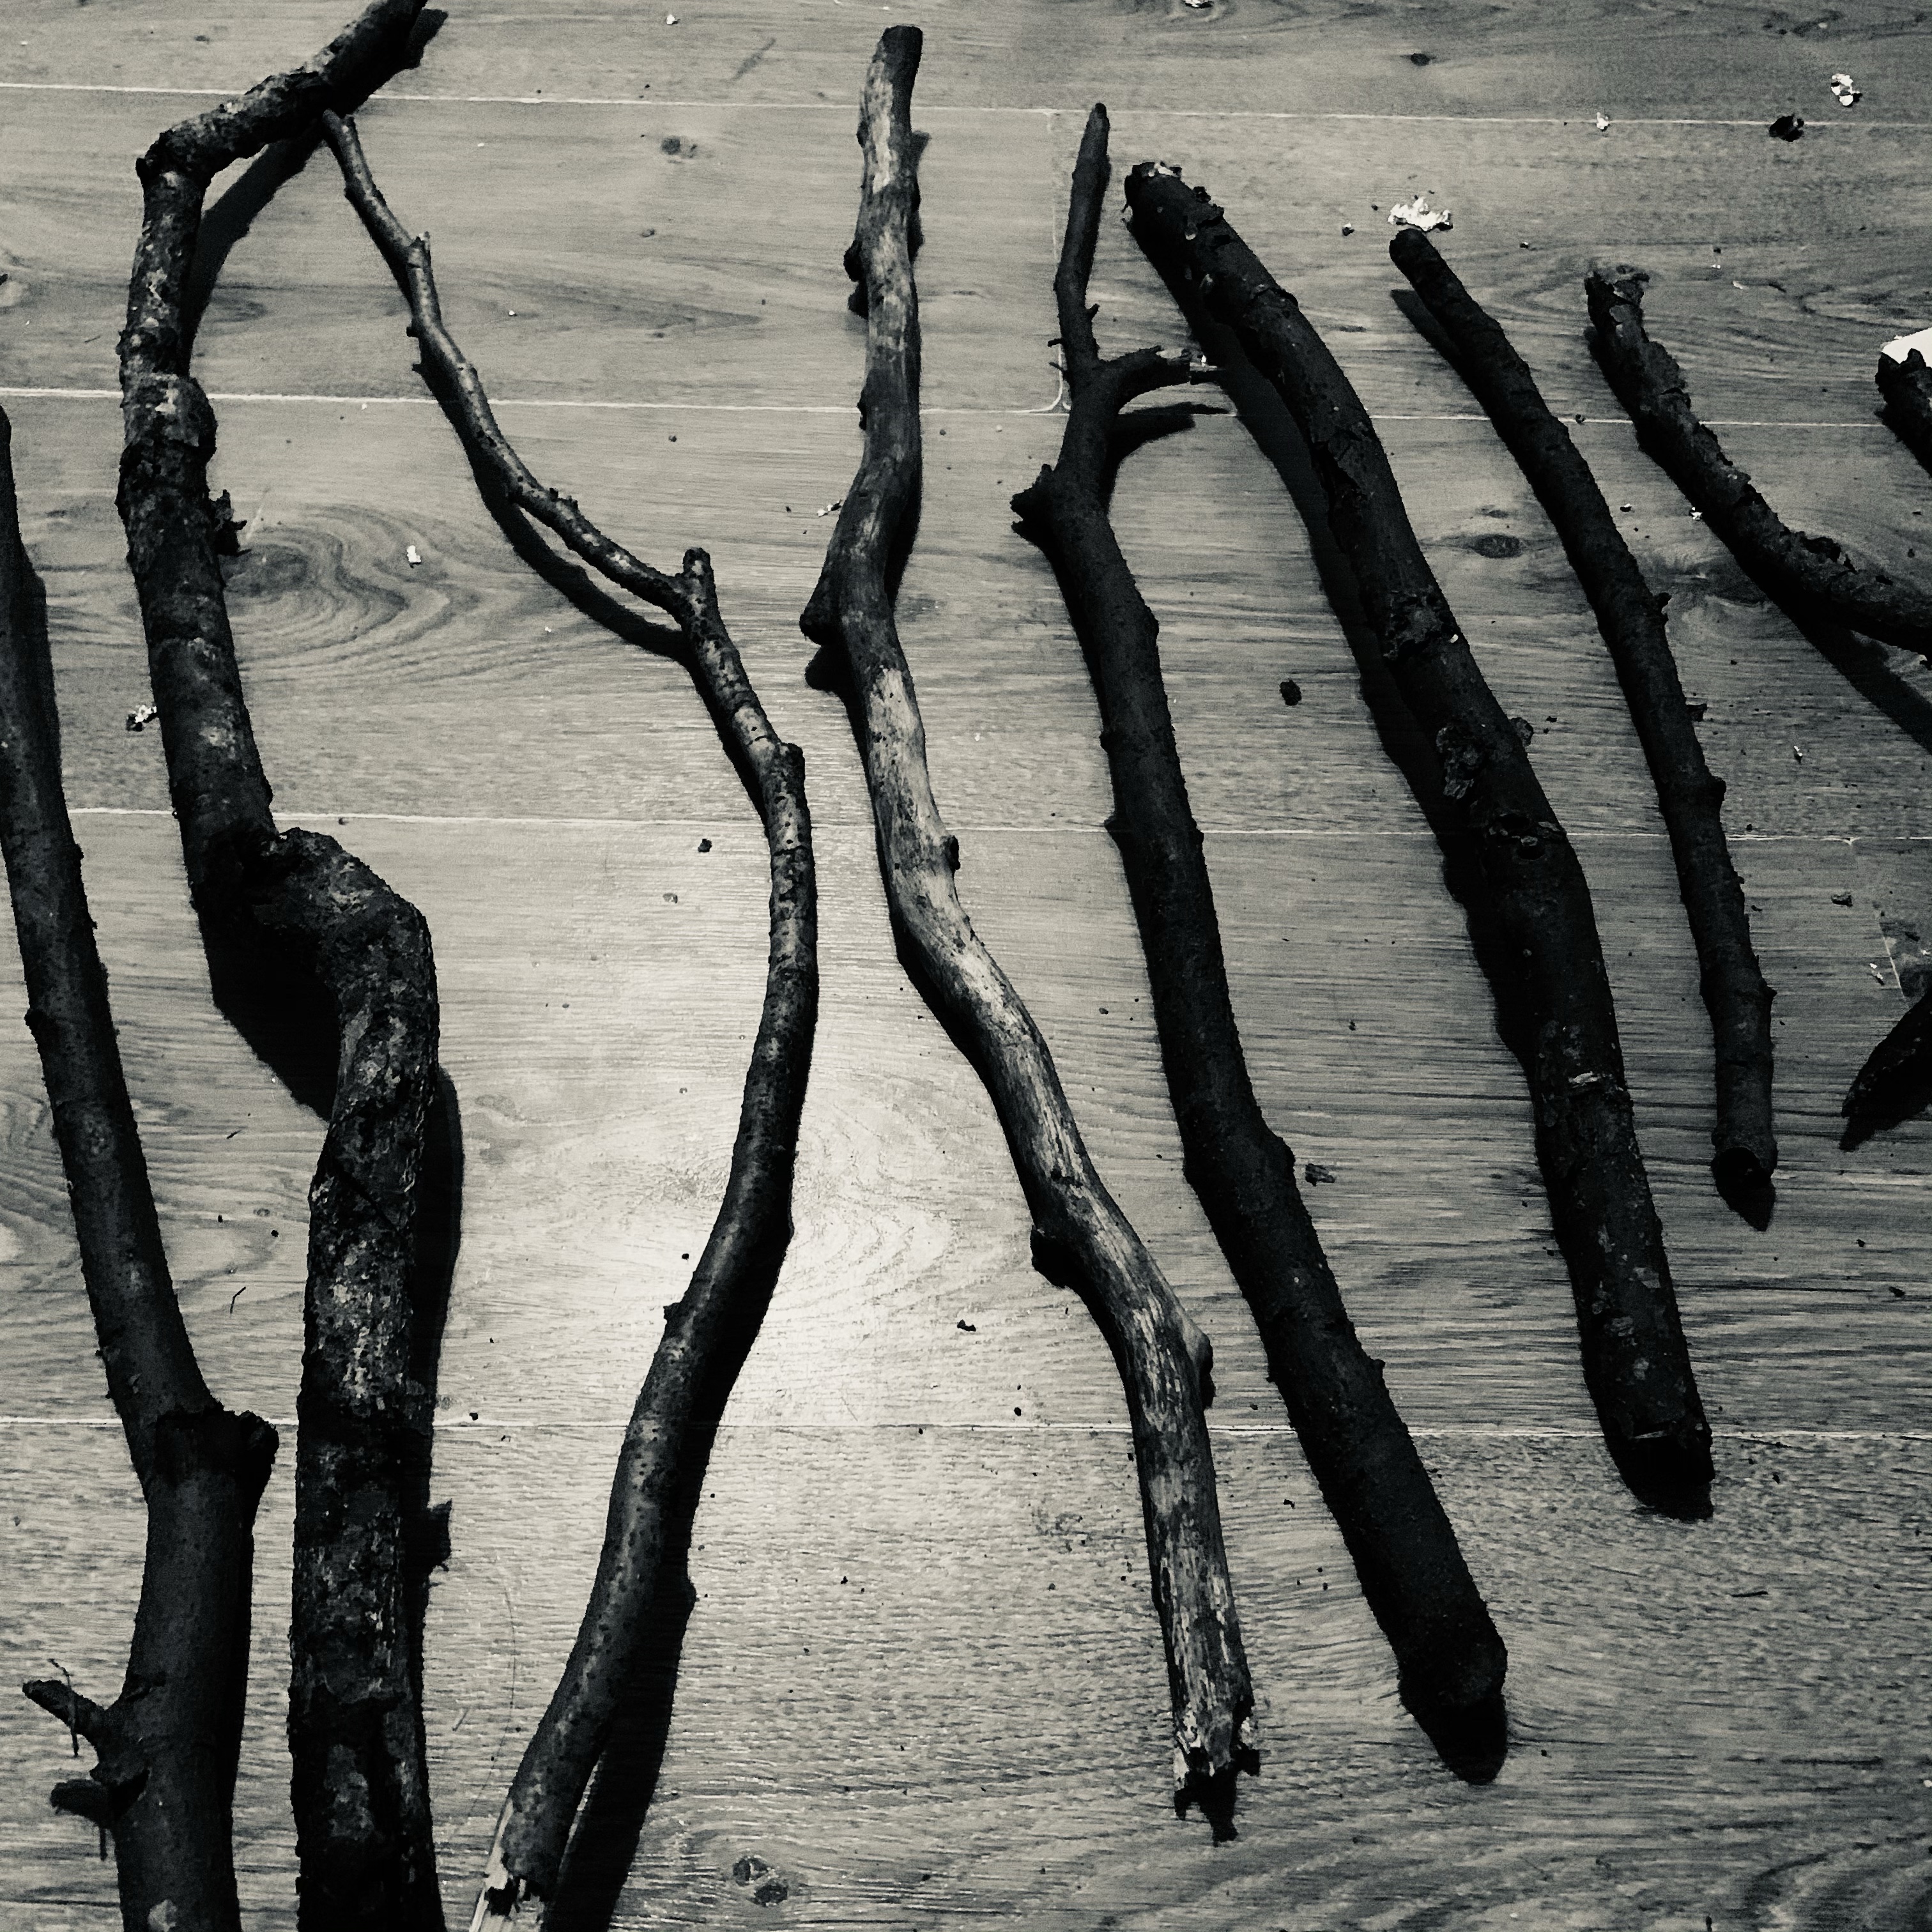
- A selection of twigs in various sizes.
- Twine
- Scissors
- Fairy lights
First things first take your twigs and sort them in to size order – largest to smallest.
Once you have done this take a ball of twine and start at the bottom, or largest branch. You want to place your first strings closer together then the size of your smallest branch.
Wrap the twine around your branch once and tie a double knot. Then loop your twine around the branch once each side of your thread and tie it off again in a double knot.
This video demonstrates the knot….. it’s important to get this right because the overall weight is quite a lot and you want it to be secure.

Repeat this process up one side of your branch and then start on the second side with a second piece of twine. Pull your branches apart so the first string is taught to make them “straight” – but a little bit wonky is fine for this project.
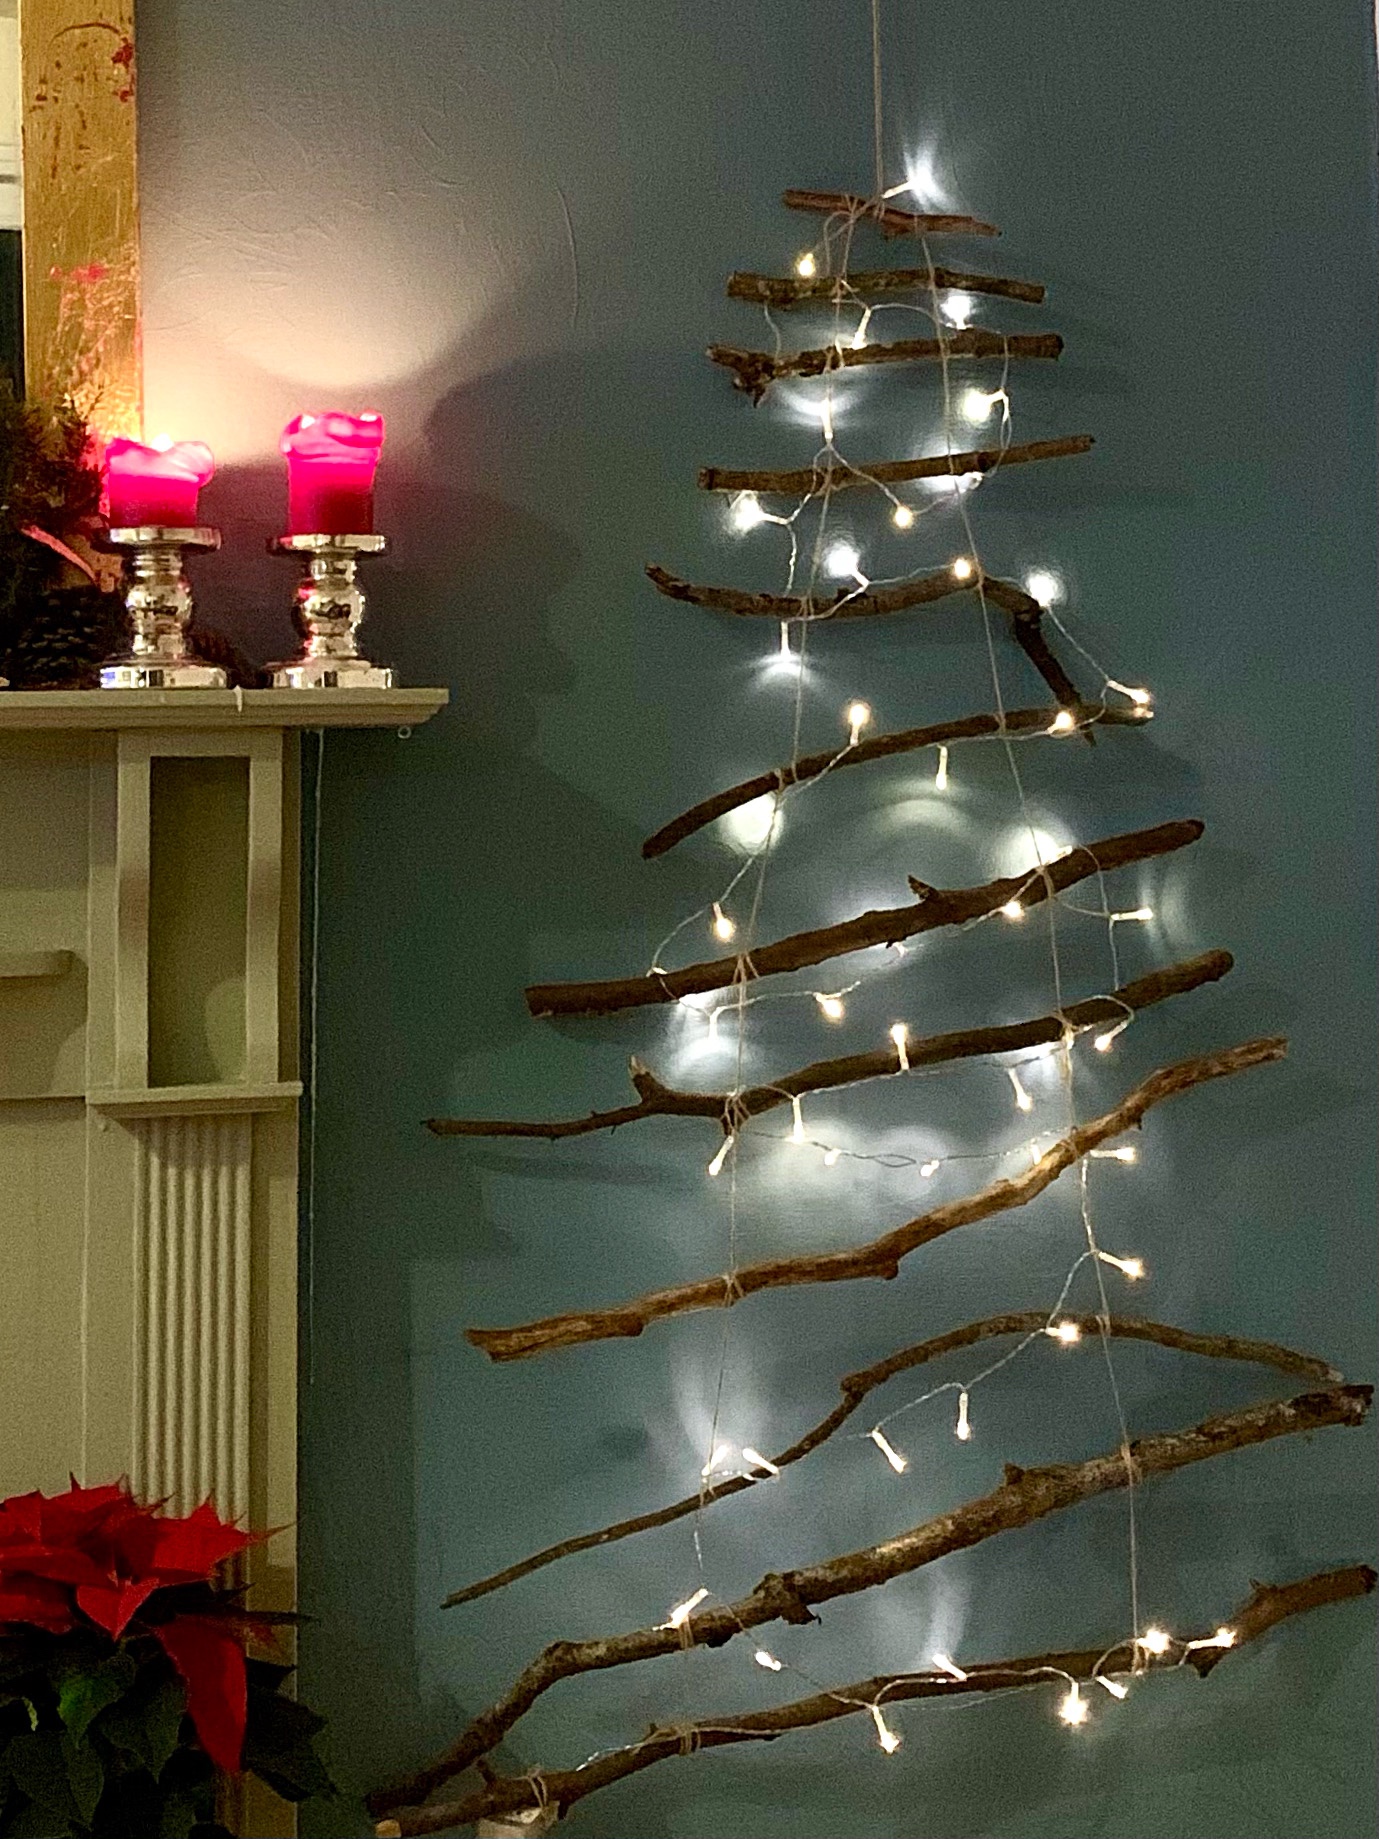
Once you have everything fastened together tie a second piece of twine to the uppermost branch and then hang your construction from a nail in a wall. Make some adjustments here by fiddling with your knots before adding fairy lights to complete the hygge style Christmas look.

Here’s our finished hygge style twig Christmas tree. I love it and adding a star made from more items we found in the woods was just the icing on top! Check out our gold pine cone star project

I really like this x thanks for sharing x
I love this – I’d have this up all year round!
I love this idea! It’s so effective but simple: