

I didn’t come to embroidery because I’m crafty. I came to it because I was tired.
Tired of screen negotiations. Tired of craft projects that promised “easy fun!” and delivered glitter in places glitter should never be. Tired of starting things we never finished because someone got bored or frustrated or suddenly needed a snack immediately.
Embroidery wasn’t even on my radar until a friend mentioned her kids were into it. My first thought was: isn’t that for grandmothers? My second thought was: wait, no mess? I was intrigued.
So one rainy Saturday, I grabbed a cheap hoop from the craft store, some embroidery floss in colours my daughter picked (aggressively pink, predictably), a few needles, fabric from an old pillowcase, and small scissors. That was it. No elaborate setup, no special equipment, no thirty-minute prep while the kids lost interest.
We sat at the kitchen table, and I’ll be honest, I had to YouTube the first stitch. Running stitch. Literally just up, down, up, down in a line. My son caught on faster than I did, which was both humbling and encouraging. Within twenty minutes he’d stitched a wobbly heart and declared it “perfect.” Reader, it was not perfect. But it was finished, and he made it, and that was the whole point.
Why this craft actually works for families
Here’s what I’ve figured out since that first afternoon: embroidery is stealth parenting. It looks like a craft activity, but really it’s teaching patience, focus, and fine motor skills without anyone realising they’re learning anything. The repetitive motion is genuinely calming, there’s a reason people call it meditative. And unlike painting or slime or anything involving mod podge, cleanup takes about forty-five seconds.
The needle situation does require a conversation. They’re sharp, obviously. We have a rule: the needle stays in the fabric or in the case, never wandering around the house. Just like on my classroom! Younger kids need supervision, but by seven or eight most can handle it independently if you’ve laid the groundwork.
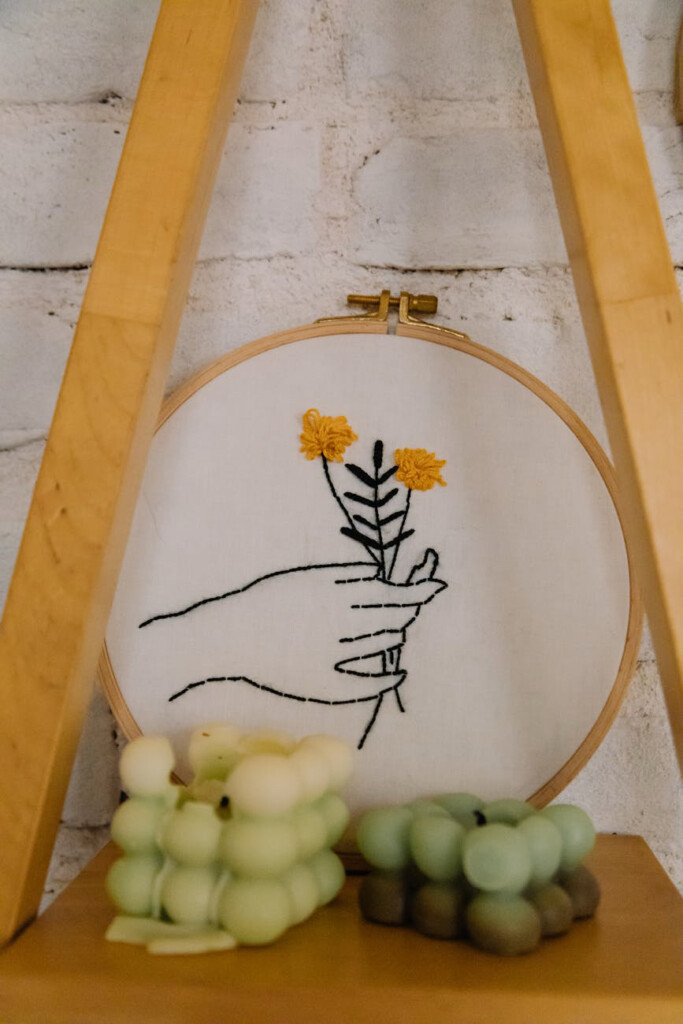
You don’t need many stitches to make real things. Five, honestly. Running stitch for basic lines. Backstitch when you want something more solid and continuous, it’s the one you’ll use most for outlines. Satin stitch fills in shapes with parallel lines sitting next to each other, good for petals or letters. Lazy daisy makes little loops that look like leaves or flower petals instantly. And French knots, which are tiny wrapped dots perfect for flower centres or adding texture. French knots are fiddly and will annoy you at first. They annoyed me. But once they click, you’ll put them on everything.
The mistakes are predictable and fixable. Stitches too long look messy, so keep them small. Pulling too tight puckers the fabric, so relax your hands. Thread tangles when it’s too long, so cut forearm-length pieces and let your needle dangle occasionally to unspin. None of this is complicated once someone tells you.
Getting supplies doesn’t need to be a production. Raid what you have, old fabric, random thread, a hoop collecting dust somewhere. Or grab a basic kit from any craft store for a few pounds. If decision fatigue is real for you (it’s real for me), an all-in-one embroidery starter kit takes the guesswork out entirely. Everything’s included, you don’t have to think about whether you have the right needle size, you just open the box and start. When you’re wrangling kids into a craft activity, removing friction matters more than saving a few euros.
Projects that actually get finished
Our first real project was initials. Just a letter traced in pencil onto the fabric, backstitched around the outline, maybe filled in with satin stitch if patience allowed. It took maybe forty minutes. My son made an “A” for his name and immediately demanded we turn it into a keychain. We didn’t have keychain supplies. We hung it on her doorknob instead. Same energy.
Since then we’ve made patches, a lightning bolt for a jacket, a tiny star for a tote bag. We’ve done simple flowers where lazy daisy petals surround a French knot centre. We tried a more ambitious “family portrait” hoop that’s been in progress for months now and may never be finished, which is fine. The point isn’t productivity. The point is sitting together doing something with our hands while talking or not talking, depending on the day.
The finishing details that actually matter
The finishing part matters more than I expected. Securing thread properly, weaving the tail under existing stitches on the back rather than just knotting it, makes everything look cleaner. Trimming loose threads so the back isn’t a mess. Deciding whether to leave the piece in the hoop (the classic look), frame it properly, or turn it into something functional like a patch or ornament. These small steps take five minutes and make the difference between “craft project” and “thing you’d actually display.”
Making it stick as a regular thing
What makes embroidery stick as a repeatable activity, at least for us, is having everything ready to go. I keep a small pouch with a hoop, pre-cut fabric squares, needles, and a handful of thread colours. When someone says they’re bored or the afternoon is dragging, I can pull it out immediately. No hunting for supplies, no setup time, no losing momentum before we’ve started.
We aim for maybe two projects a month. Sometimes more, sometimes less. Letting my son pick the theme helps, her current obsession is stitching tiny foods, so we’ve done a strawberry and something that’s either a croissant or a slug, jury’s still out. The wonkiness is part of the charm. Embroidery that looks handmade by a seven-year-old should look handmade by a seven-year-old.
A few things people always ask:
- Age to start: Around five or six with supervision for very basic stitches. By eight or nine, most kids can work independently on simple projects. Depends entirely on the individual child’s patience and fine motor skills.
- Frustration management: Start smaller than you think. One letter, not a word. One flower, not a bouquet. Quick wins build confidence. Walking away and coming back tomorrow is always an option.
- Thread tangling: Shorter lengths, let the needle dangle to unspin, don’t rush. Patience beats technique every time.
- Making it “look good”: Lower your standards, genuinely. Wobbly lines are charming. Uneven stitches add character. The goal is finished, not flawless.
I’m not going to pretend embroidery has transformed our family or replaced screens entirely or sparked some deep creative awakening. It’s just a good, quiet, low-mess activity that we can do together and actually complete. In the chaotic landscape of parenting, that’s enough. That’s plenty, actually.
If your first attempt looks rough, congratulations. You’re doing it exactly right.
Last Updated on Tuesday, February 3, 2026 by Lavania Oluban