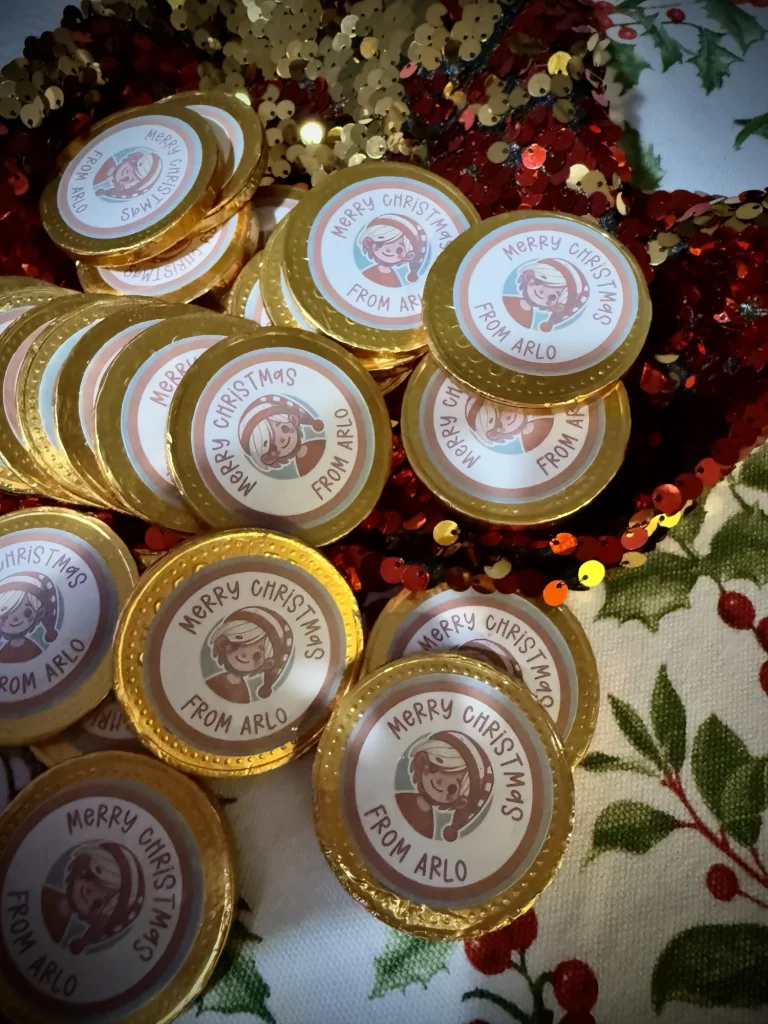
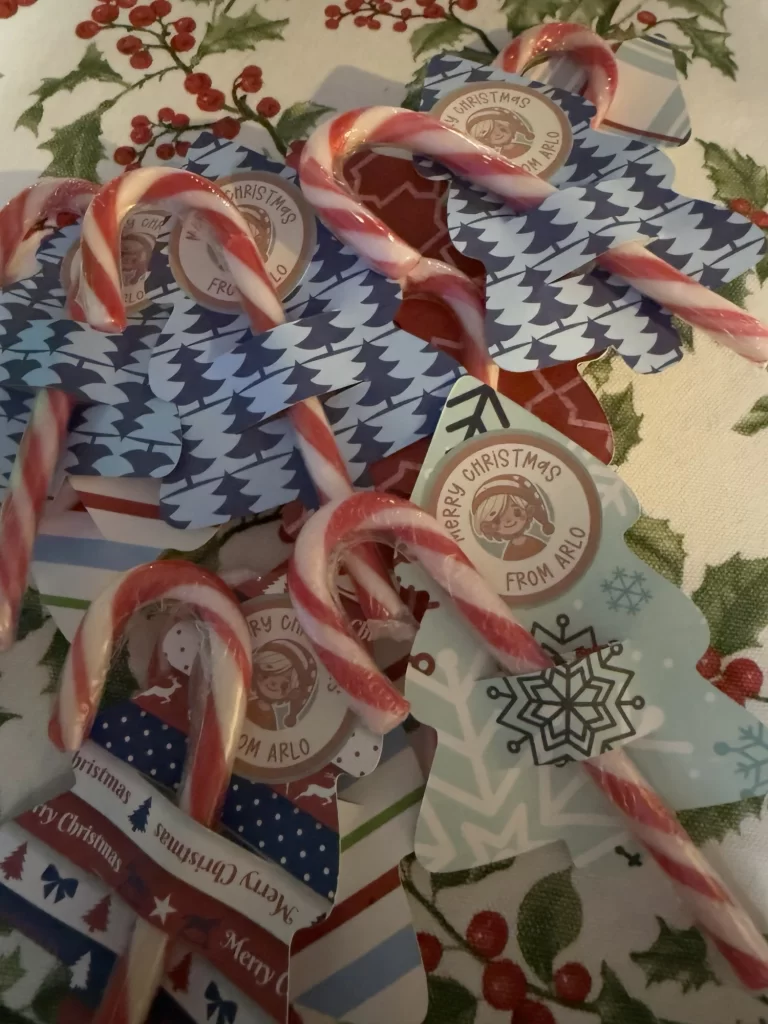
Christmas is the perfect time to get creative, and one of my favorite ways to add a personal touch to festive gifts and treats is by making customised stickers. These stickers can be used for everything from decorating gold coins to embellishing candy cane holders for friends and family. In this post, I’ll take you step by step through the process of creating your own personalised Christmas stickers using a Cricut machine.
Whether you’re a Cricut beginner or a seasoned crafter, this step by step guide will help you design beautiful, professional-looking stickers that are perfect for spreading festive cheer.
Step 1: Generating a Personalised Image
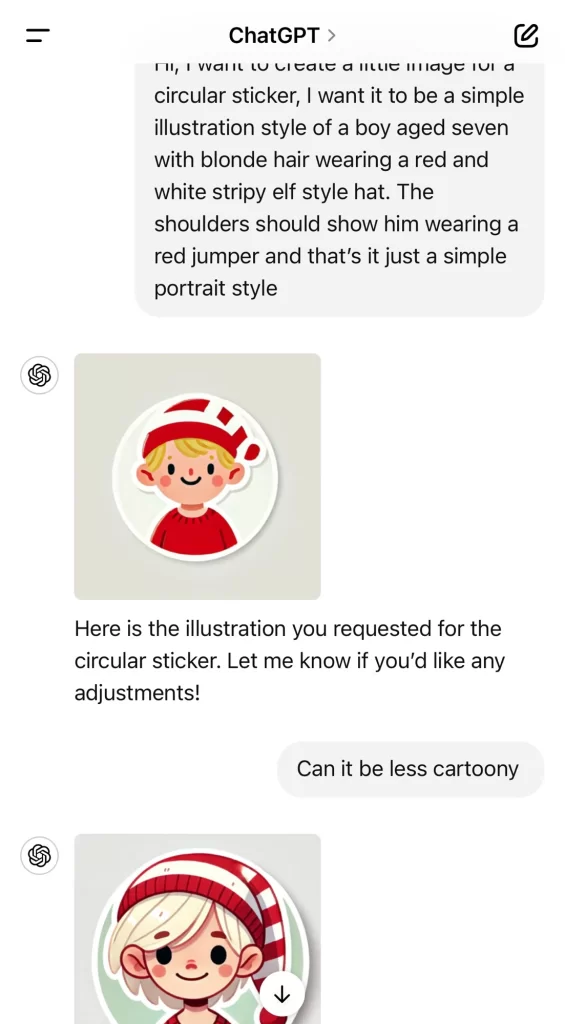
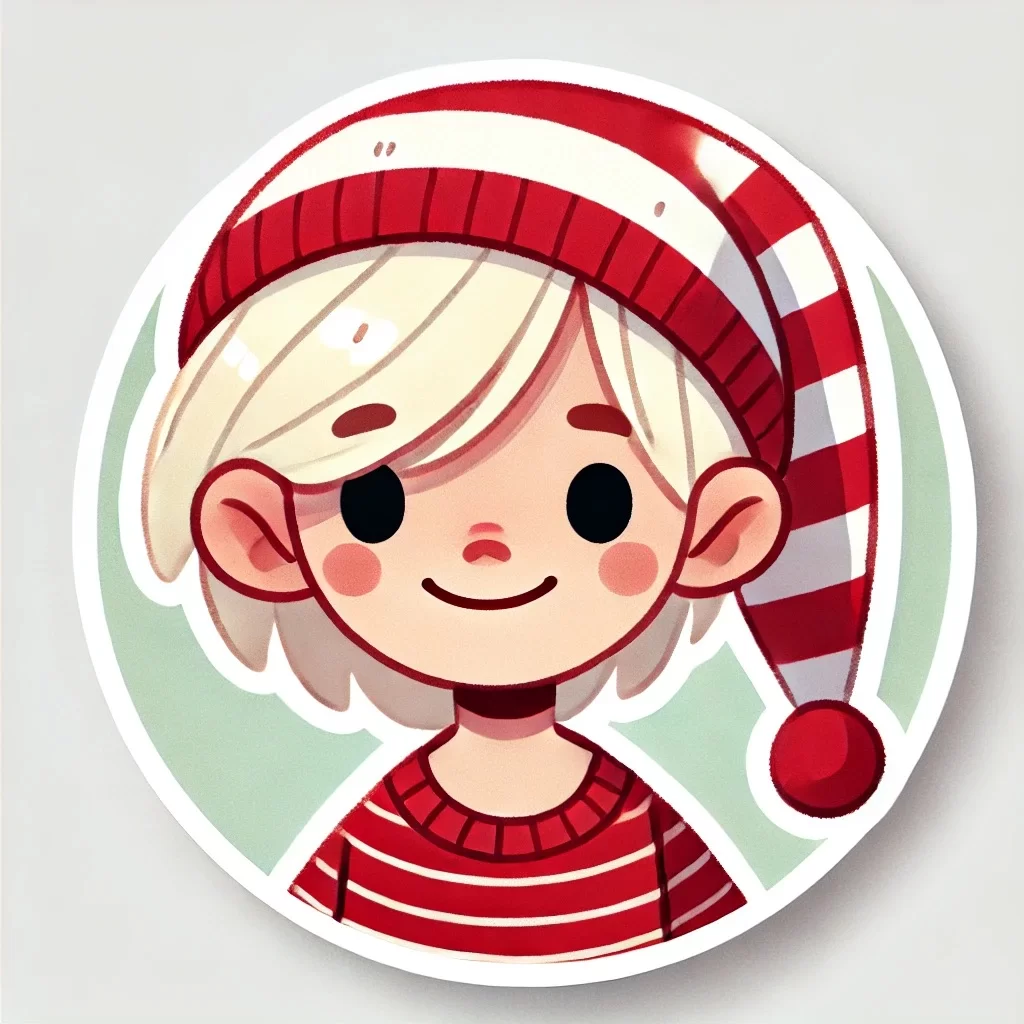
To make my stickers extra special, I wanted to include a custom image of my son, Arlo. I turned to AI for help and used ChatGPT to create an illustration. After experimenting with prompts, I landed on an image I loved and saved it to my device.
If you’re curious about how I created the image, I’ve included screenshots of the prompts I used so you can try something similar. The beauty of using AI is that you can generate unique and playful images that reflect your family’s personality or match your festive theme.
Step 2: Uploading the Image to Cricut Design Space
With the image ready, I uploaded it to Cricut Design Space. The upload process is straightforward:
• You’ll be prompted to remove the background for the print-and-cut feature.
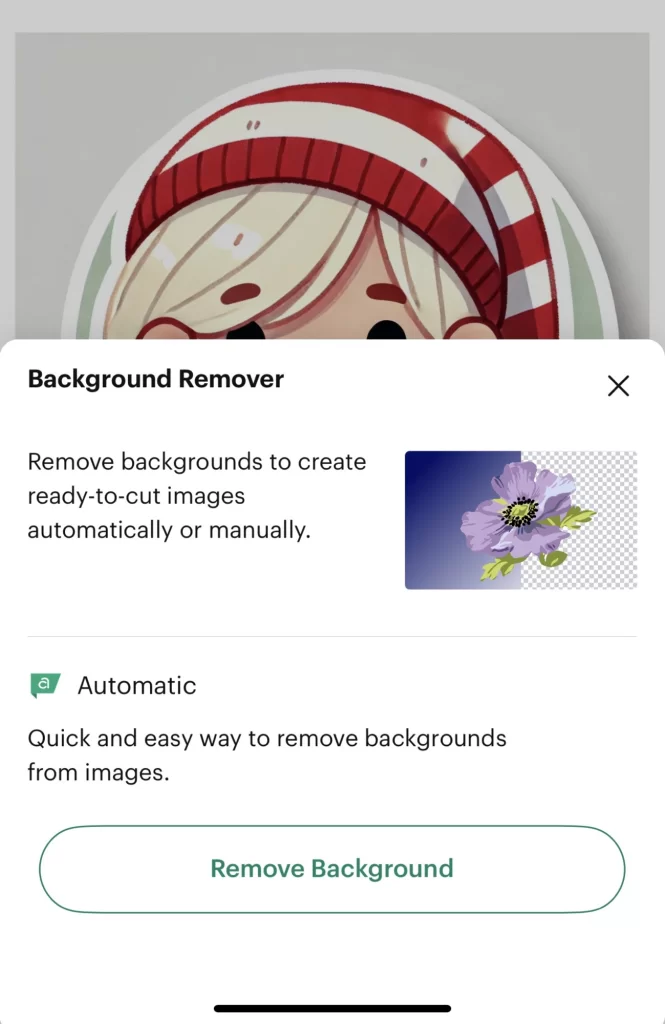
• Take your time with this step to ensure your image looks clean and crisp. It does have an automatic button which does the job for simple images like this.
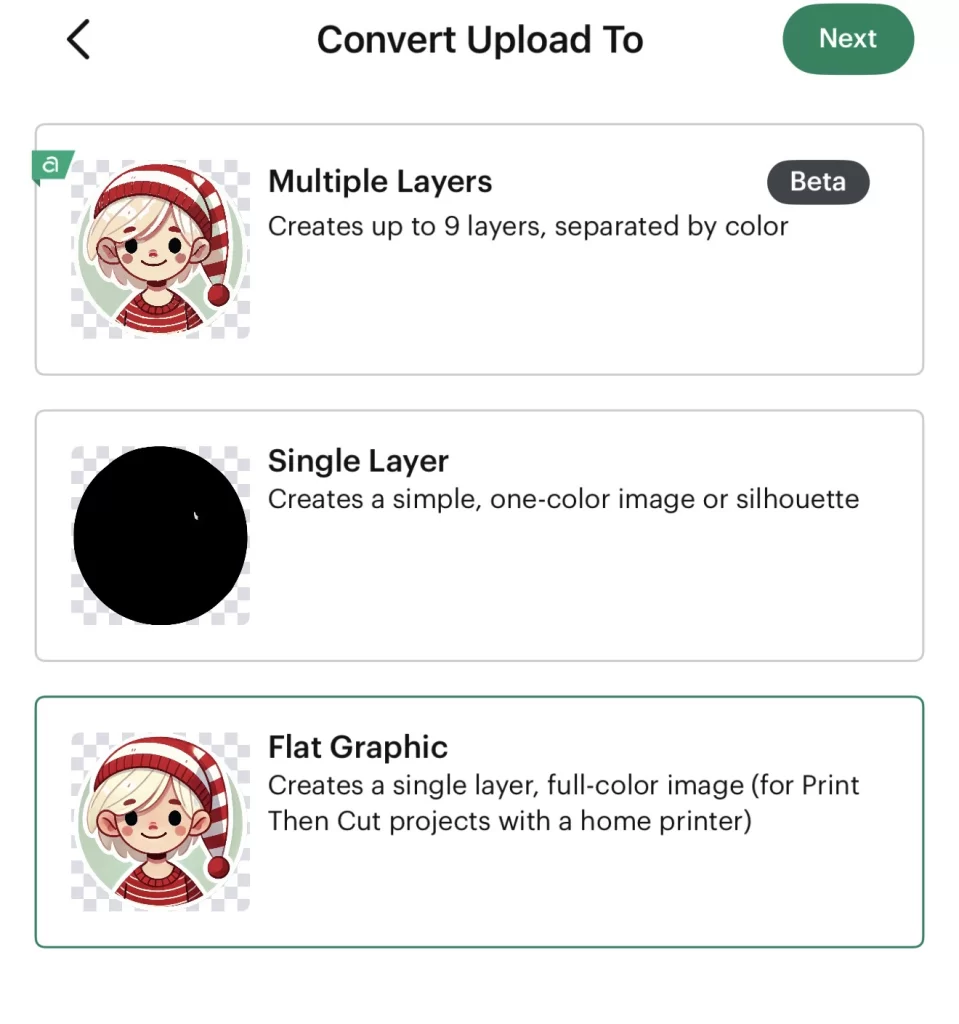
Once uploaded, the image was ready to be turned into a sticker design. I chose “flat graphic” for this purpose.
Step 3: Designing the Sticker
Designing the sticker was the most enjoyable part of the process! Here’s how I created a festive and polished design:
Adding a Base
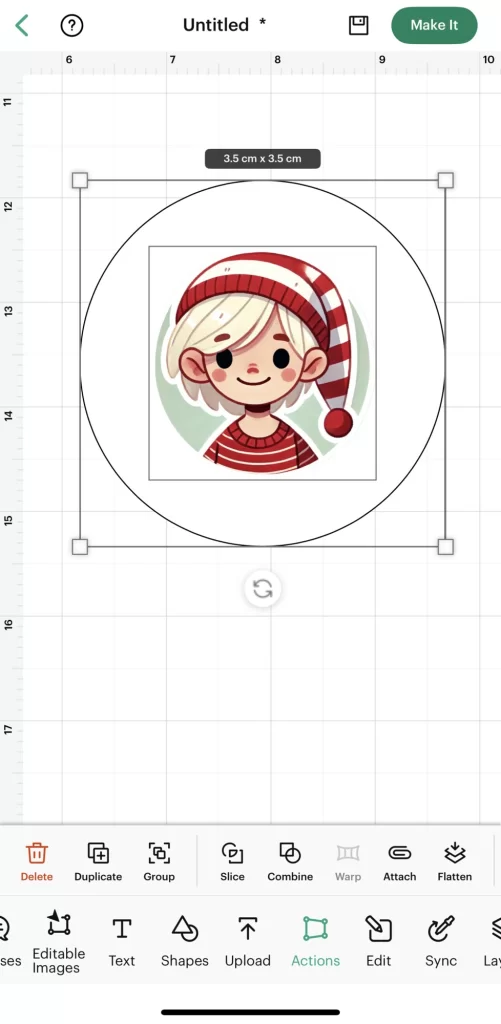
I started by creating a simple white circle to act as the base for the sticker. This makes the image stand out and gives a clean, professional look. Using the align tool, I centered the image perfectly on the circle. You need to send this shape to the back layer and also change the colour. Don’t worry at this stage that the operation is “basic cut”
Adding Text
Next, I added some festive text using the font BFC Autumn Harvest. I created two separate text elements:
• “Merry Christmas”
• “From Arlo”
By keeping the text separate, I had more flexibility to adjust the positioning and style.
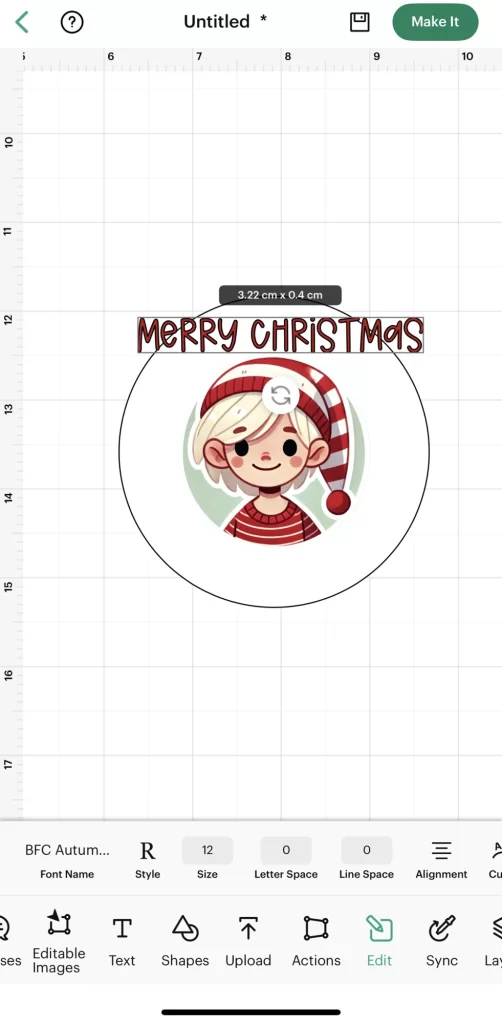
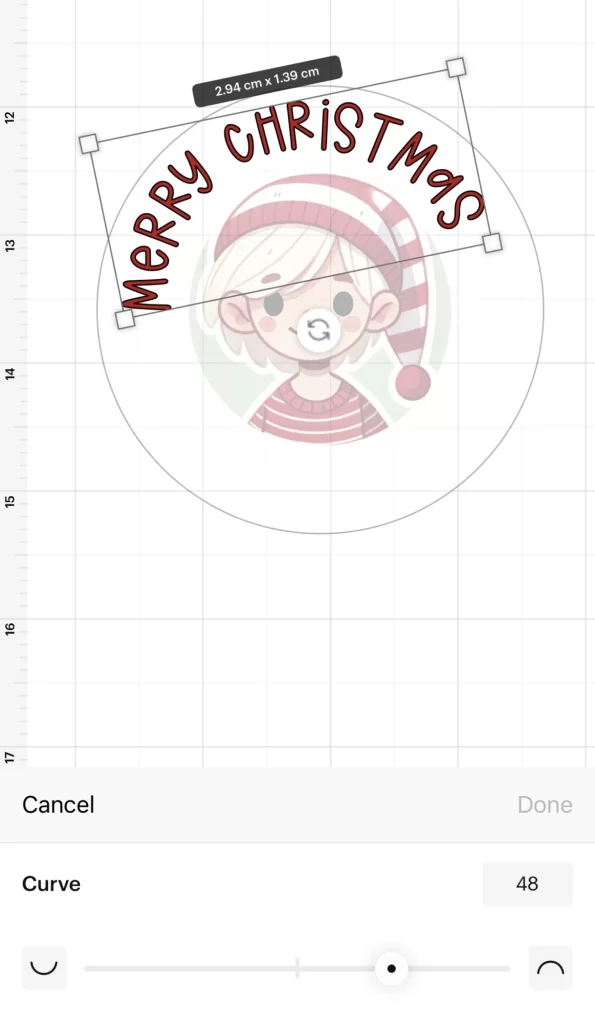
To add a touch of flair, I used the curve tool to wrap the text around the circle. This feature allows you to create a rounded text effect that follows the shape of the sticker. After curving the text, I rotated it slightly to create a playful, off-centered design.
Extra Touches
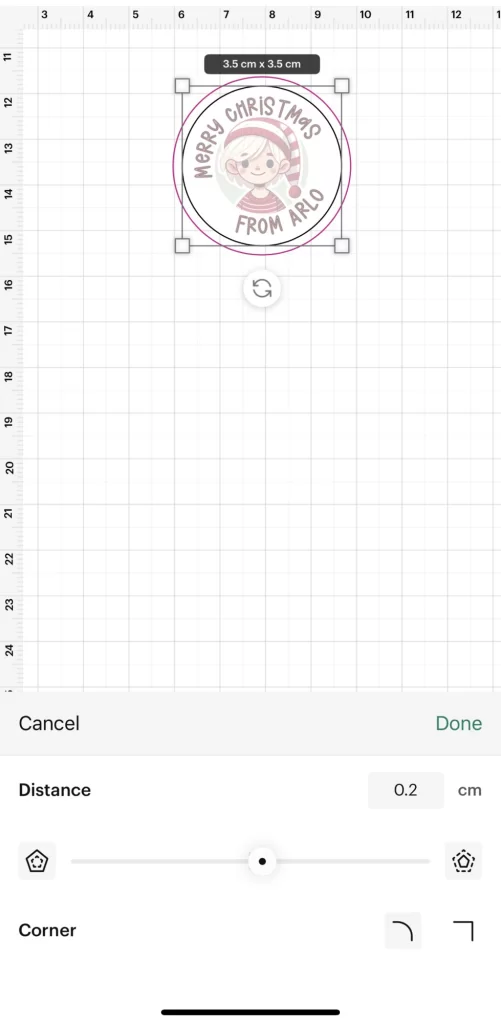
To tie the design together, I added a red circle around the entire sticker using the offset tool set to 2mm. This extra border gave the sticker a polished, cohesive look.
Step 4: Flattening the Design
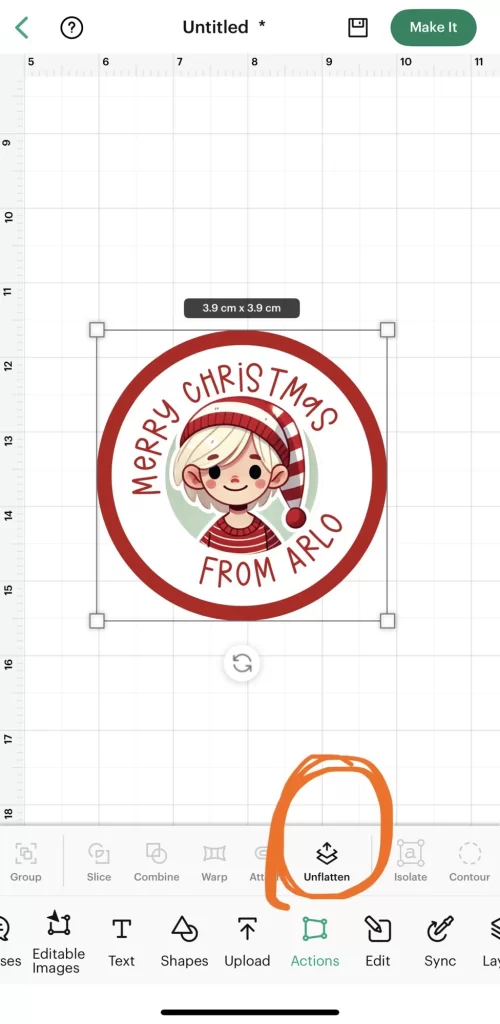
Once I was happy with the design, I selected all the elements and used the flatten tool. Flattening merges all the layers into a single image, making it ready for printing and cutting.
Step 5: Create Sticker tool
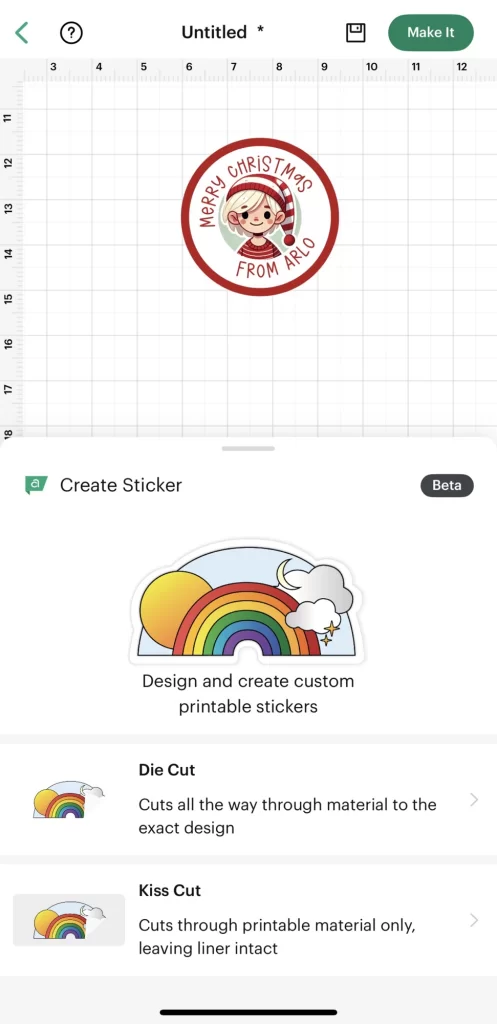
This new features design space makes things so much easier. A kiss cut is what I wanted, so the sticker is cut out but when it cuts it leaves the backing paper intact, this is because Arlo loves peeling the stickers from the sheet and applying them.
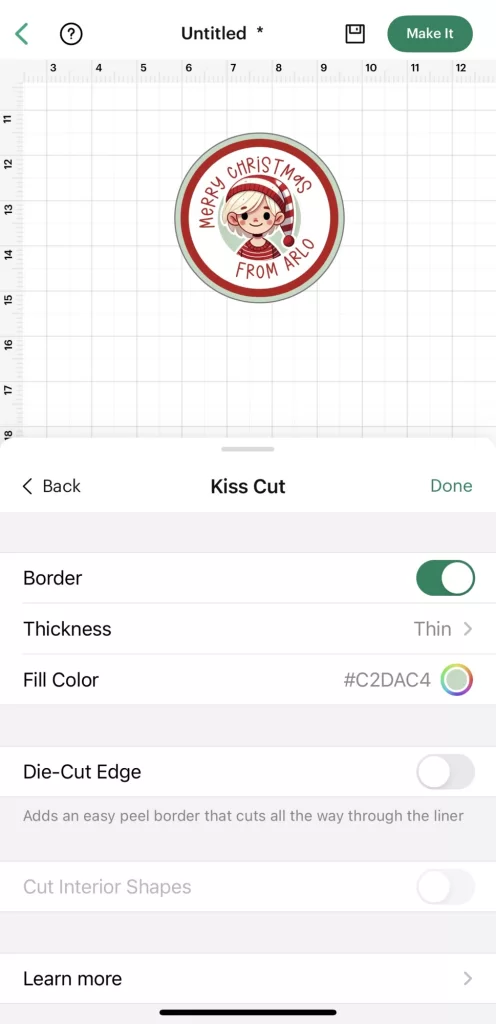
The sticker tool has some finishing touches you can use, I added an extra border and changed the thickness and fill colour using the eye dropper tool to bring in another colour from the design.
Step 6: Resize the design
I then went in and resized my sticker to 35mm – this size fits 24 circles perfectly on to a sheet of A4 paper.
Step 7: Print then cut
I make sure I select A4 sized paper, then change the number of copies to 24. I personally also like to have a “bleed” – this means that the colour on the outside border, in this case the pale green prints a little extra as if the colour has bled. This means that if your machine is not calibrated then it gives you a little margin for error.
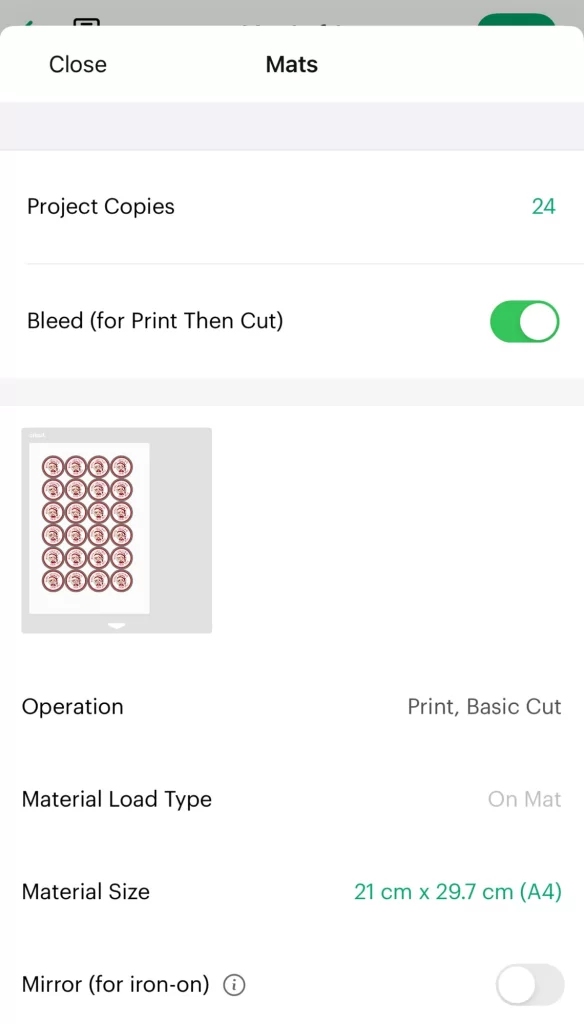
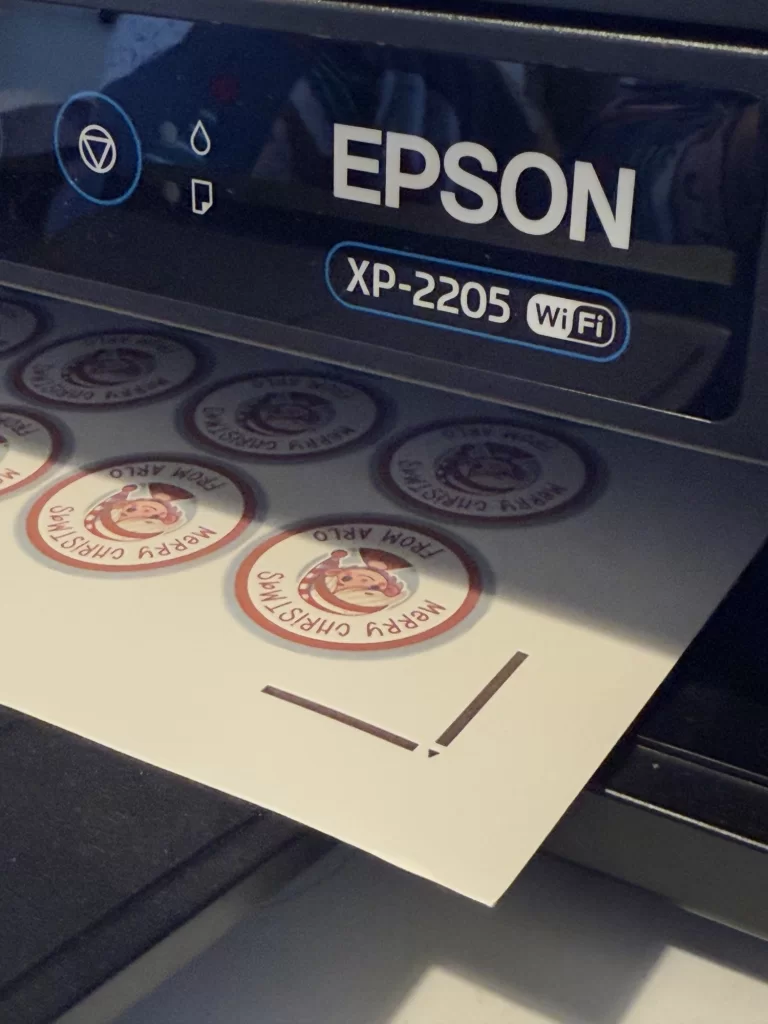
Then you simple send this project to print to your usual printer at home before popping that sheet through your Cricut machine to cut. you don’t need a fancy printer for this, just a normal at home A4 colour printer will do the job. However this becomes addictive and as you generate project ideas you may want to upgrade your equipment.
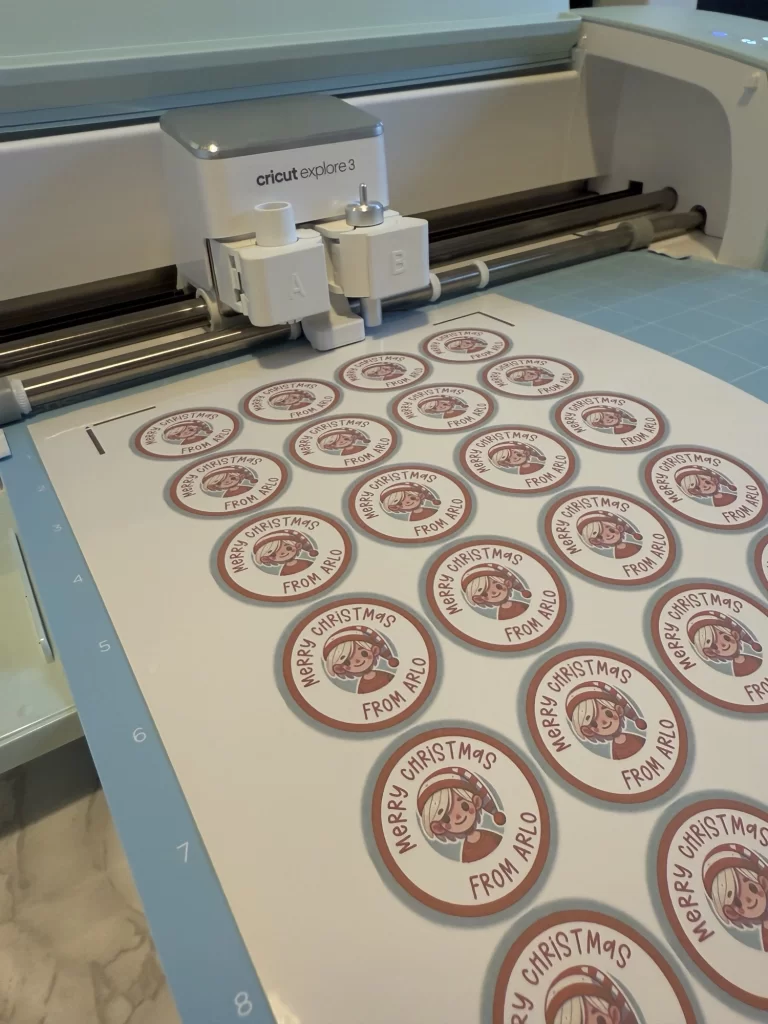
I like to print off multiple sheets at a time and then send them all through my Cricut for cutting. I apply the design to the blue paper mat and it takes a matter of seconds to cut out perfect round stickers which can then be used immediately
I have lots of quick and easy Christmas craft ideas to share, many of which have some fabulous finishing touches made using my Cricut. I’m hoping to be able to create more step by step guides in the future so if this is useful please let me know!
Last Updated on Sunday, November 9, 2025 by Lavania Oluban
